Learn how to build your dog's balance and proprioception at home using a yoga mat and everyday items. This progressive guide covers warm-up protocols, targeted muscle groups, and post-injury rehabilitation support.
Key Takeaways
- Balance and proprioception exercises strengthen stabiliser muscles, improve joint awareness, and support post-injury recovery in dogs.
- A yoga mat, cushions, rolled towels, and a few household items are all that is needed to begin.
- Sessions should follow a structured warm-up, exercise, and cool-down format, typically lasting 10 to 20 minutes.
- Always consult a veterinarian before starting exercises with a dog recovering from surgery or injury.
- Progress gradually: rushing difficulty levels risks re-injury or loss of confidence.
What Are Balance and Proprioception Exercises for Dogs?
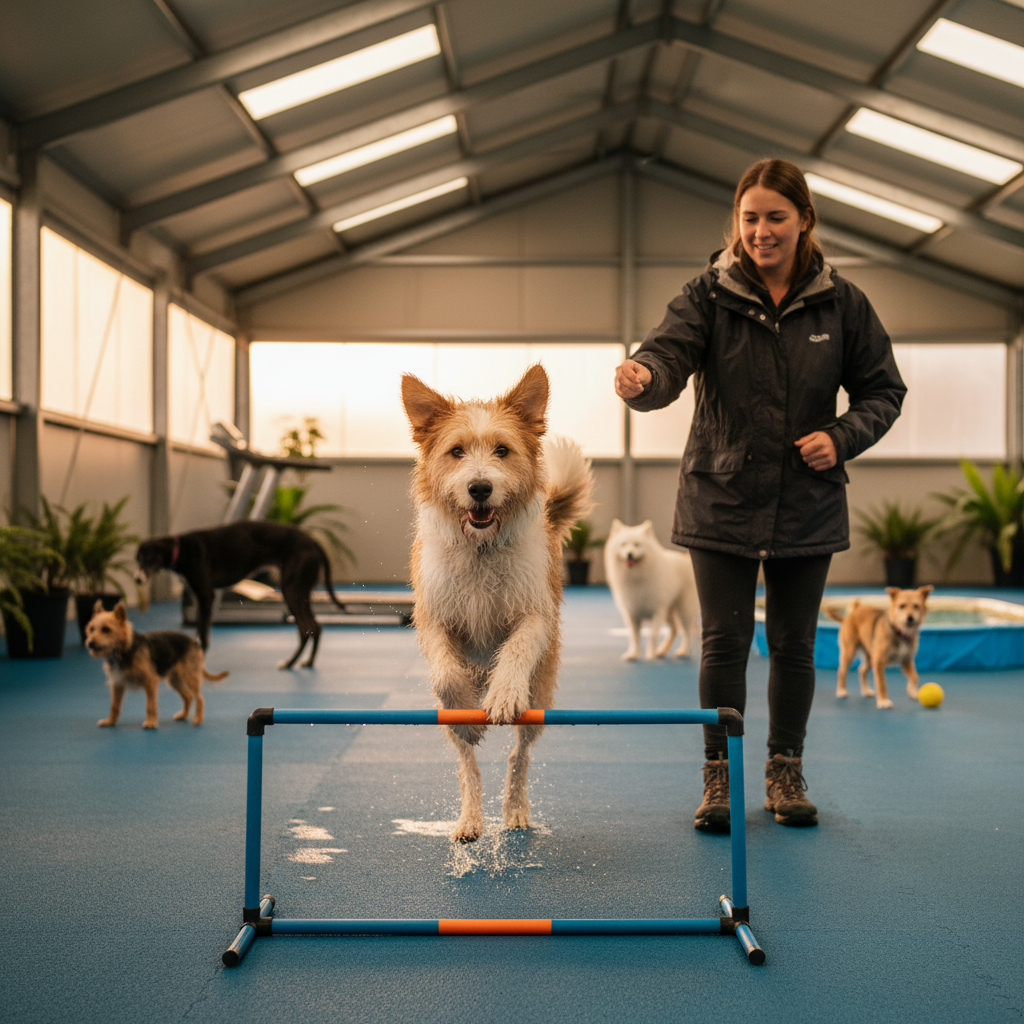
Proprioception refers to the body's ability to sense its own position in space. In dogs, proprioceptive awareness helps them navigate uneven ground, shift weight smoothly, and react quickly to changes in terrain. Balance exercises deliberately challenge this system, asking muscles and joints to stabilise under controlled, low-risk conditions.
These exercises are widely used in canine physiotherapy clinics, but many of them can be safely adapted for home use. Veterinary rehabilitation guidelines recommend that owners work on proprioception as part of general fitness maintenance, age-related mobility support, and structured post-injury recovery programmes.
Before You Begin: Safety and Veterinary Clearance
Most healthy adult dogs can start beginner-level balance work without concern. However, veterinary clearance is essential if a dog:
- Has had orthopaedic surgery (such as cruciate ligament repair or fracture fixation) within the past six months
- Is currently experiencing lameness, swelling, or pain in any limb
- Has a neurological condition affecting coordination
- Is a senior dog with diagnosed arthritis or joint disease
Important: These exercises complement veterinary rehabilitation but do not replace it. If a dog is mid-recovery, a veterinary physiotherapist should design the programme and approve home exercises before owners proceed independently.
What You Will Need
One of the best things about proprioceptive training is that it requires minimal equipment. Gather the following household items before each session:
- Yoga mat or non-slip mat: Provides a defined, stable surface and prevents slipping on hard floors.
- Sofa cushions (2 to 4): Create unstable surfaces to challenge balance at intermediate levels.
- Rolled bath towels (2 to 3): Act as low obstacles for stepping exercises and gentle weight shifts.
- A sturdy hardcover book or low step (5 to 10 cm high): Used for controlled front-paw elevation.
- A wooden spoon or target stick: Helps guide the dog's nose for luring movements.
- High-value treats: Small, soft treats are ideal for rewarding effort without interrupting flow. For sustainable treat options, see Insect Based Dog Treats: A Sustainable Protein Guide.
Warm-Up Protocol (3 to 5 Minutes)
Warming up before proprioceptive work is just as important for dogs as it is for humans. Cold muscles and stiff joints are more vulnerable to strain. A proper warm-up gradually increases circulation and prepares connective tissue for load.
Step 1: Gentle Lead Walking (2 Minutes)
Walk the dog at a relaxed pace around the house or garden. The goal is not exercise intensity but rather a gentle increase in blood flow to the limbs. Allow the dog to walk at their natural speed.
Step 2: Passive Range-of-Motion Stretches (1 to 2 Minutes)
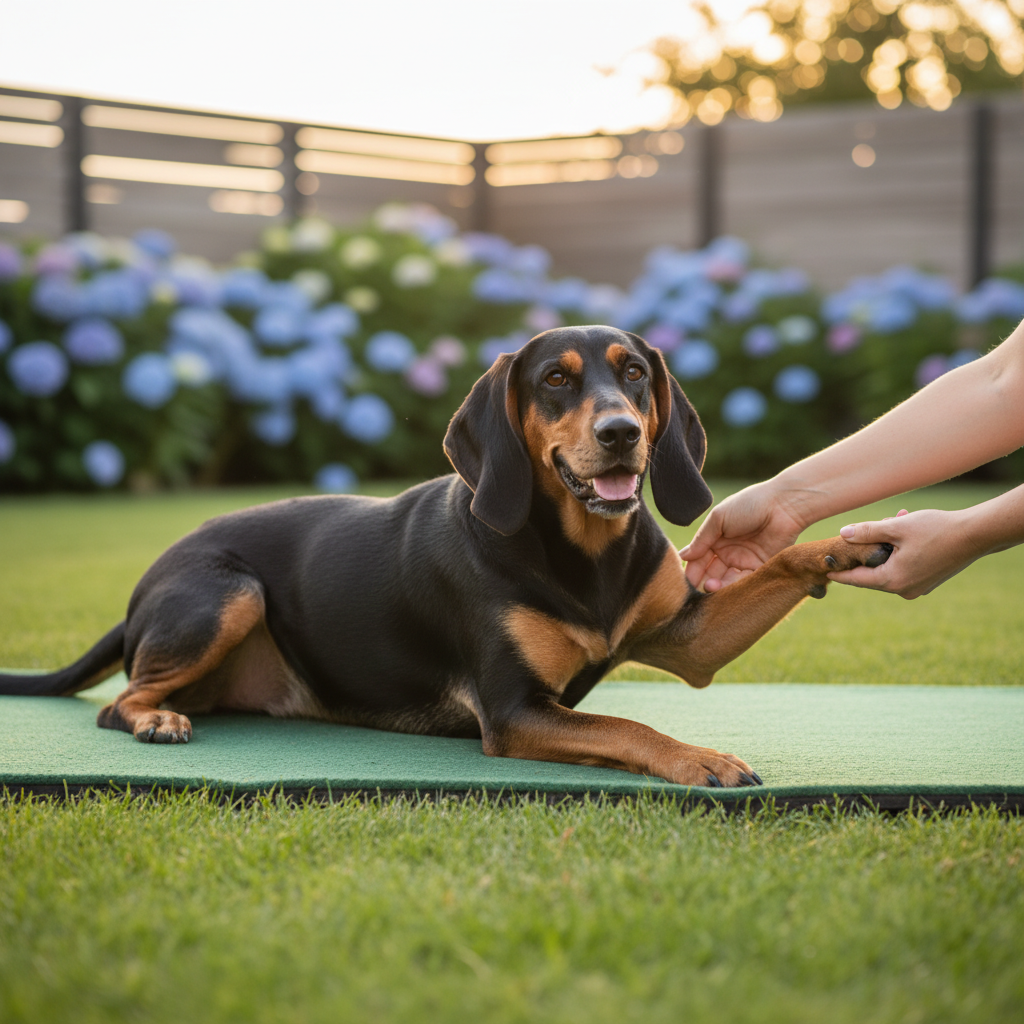
With the dog standing calmly on the yoga mat, gently flex and extend each limb through its comfortable range. Hold each position for approximately 3 to 5 seconds. Never force a joint beyond its natural movement. If the dog resists or pulls away, stop immediately. This step is particularly helpful for older dogs or those returning from injury.
Step 3: Cookie Stretches (1 Minute)
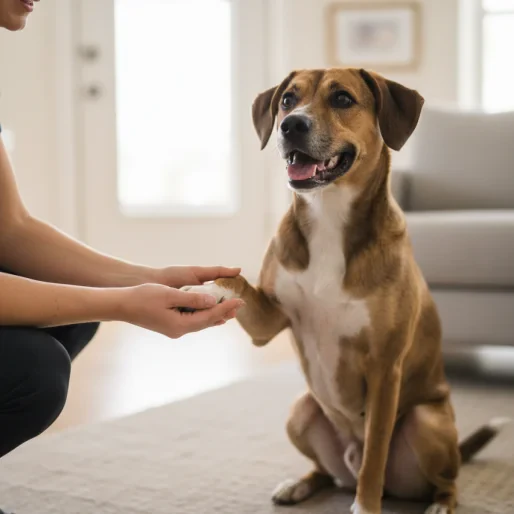
Hold a treat near the dog's hip on each side, encouraging them to turn their head and neck to follow it. Then lure the treat down between the front paws and gently up toward the ceiling. These "cookie stretches" mobilise the spine and engage core stabilisers before the main exercises begin.
Level 1: Beginner Exercises (Weeks 1 to 3)
These exercises suit dogs new to balance work, senior dogs, and those in the later stages of rehabilitation (with veterinary approval).
Exercise 1: Weight Shifting on the Mat
Muscle groups targeted: Core stabilisers, shoulder girdle, hip stabilisers
Ask the dog to stand squarely on the yoga mat. Using a treat, slowly lure the dog's nose to the left, then to the right. The dog's paws should remain planted while the torso shifts. Repeat 5 to 8 times per side. Most owners find that their dog wants to take a step rather than shift weight; patience and slow luring help overcome this.
Exercise 2: Towel Roll Step-Overs
Muscle groups targeted: Hip flexors, shoulder flexors, core
Lay 2 to 3 rolled towels across the yoga mat, spaced about one body-length apart. Walk the dog slowly over each towel, encouraging deliberate, high steps. This forces the dog to consciously lift each paw, activating proprioceptive pathways. Aim for 4 to 6 passes per session.
Exercise 3: Front Paw Targeting
Muscle groups targeted: Forelimb stabilisers, core engagement
Place a hardcover book or low platform on the mat. Lure the dog to place both front paws on the raised surface while the hind paws remain on the mat. Hold this position for 5 to 10 seconds, building to 15 seconds over several sessions. This shifts the centre of gravity rearward, strengthening the hindquarters and improving balance awareness.
Level 2: Intermediate Exercises (Weeks 4 to 6)
Progress to this level only when the dog performs Level 1 exercises confidently and without wobbling or resistance.
Exercise 4: Cushion Standing
Muscle groups targeted: Deep core stabilisers, all four limb stabiliser groups, spinal extensors
Place a sofa cushion on the yoga mat. Guide the dog to stand with all four paws on the cushion. The unstable surface forces constant micro-adjustments, activating stabiliser muscles that flat ground does not challenge. Start with 10-second holds, building to 30 seconds. Stay close and keep one hand near the dog's chest or belly for reassurance.
Exercise 5: Three-Leg Standing
Muscle groups targeted: Core, contralateral limb stabilisers, hip abductors
With the dog standing on the mat, gently lift one paw a few centimetres off the ground and hold for 3 to 5 seconds. The remaining three limbs must work harder to maintain balance. Rotate through all four limbs, performing 3 repetitions per leg. This exercise is particularly valuable for dogs recovering from single-limb injuries, as it retrains the brain to trust the affected leg.
Exercise 6: Slow Figure-of-Eight Walking
Muscle groups targeted: Adductors, abductors, lateral core, hip rotators
Set up two objects (such as water bottles or chair legs) about 1.5 metres apart. Guide the dog in a slow figure-of-eight pattern around them. The turning motion challenges lateral balance and engages muscles on both sides of the body asymmetrically. Complete 4 to 6 loops per session. This exercise also helps owners learn to read their dog's body language during physical work; for more on reading canine signals, see Canine Body Language: A Guide for Daycare Staff.
Level 3: Advanced Exercises (Weeks 7 and Beyond)
These exercises demand significant balance, strength, and confidence. They are appropriate for fit, healthy dogs who have mastered Levels 1 and 2.
Exercise 7: Cushion Transitions
Muscle groups targeted: Full-body stabilisation, core endurance, joint proprioceptors across all limbs
Place two cushions side by side on the mat. Guide the dog to step from one cushion to the other, pause for 5 seconds, and step back. The shift between two unstable surfaces demands advanced proprioceptive control. Start with 3 transitions per session, building to 6.
Exercise 8: Rear Paw Targeting
Muscle groups targeted: Hindlimb stabilisers, lumbosacral core, gluteals
This is the reverse of Exercise 3: the hind paws are placed on the raised surface while the front paws remain on the mat. This shifts the centre of gravity forward, loading the hindquarters differently and demanding greater rear-end awareness. Many dogs find rear-paw targeting significantly harder than front-paw work, so progress slowly. Hold for 5 to 10 seconds initially.
Exercise 9: Sit-to-Stand Repetitions on an Unstable Surface
Muscle groups targeted: Quadriceps, hamstrings, gluteals, core
Ask the dog to sit squarely on a cushion, then lure them into a stand, and back to a sit. Each transition engages major hind-limb muscle groups while the unstable surface demands balance throughout. Aim for 5 to 8 repetitions. Watch for the dog shifting sideways or rocking, which indicates fatigue; stop the set if this occurs.
Cool-Down Protocol (3 to 5 Minutes)
Cooling down prevents muscle stiffness and helps the dog transition out of "working mode."
Step 1: Slow Walking (2 Minutes)
Walk the dog at an easy, unhurried pace. This gradually lowers the heart rate and allows muscles to begin flushing metabolic byproducts.
Step 2: Gentle Massage (1 to 2 Minutes)
Using flat palms, apply gentle pressure along the dog's spine, shoulders, and hindquarters. Effleurage (long, smooth strokes) is the most appropriate technique. Avoid deep pressure over bony prominences or surgical sites. Most dogs visibly relax during this step, which also provides an opportunity to feel for heat, swelling, or sensitivity that was not present before the session.
Step 3: Passive Stretching (1 Minute)
Repeat the gentle limb flexion and extension from the warm-up. Post-exercise stretching helps maintain range of motion and signals the session's end.
What to Watch for During and After Sessions
Monitoring the dog throughout each session is essential. Owners should stop immediately and rest if they observe:
- Trembling or shaking in any limb, indicating muscle fatigue
- Reluctance to bear weight on a particular leg
- Panting, yawning, or lip-licking that suggests stress rather than physical exertion
- Sudden lameness or limping during or after an exercise
In the 24 hours following a session, mild muscle soreness is possible, especially in the first week or two. This typically presents as slight stiffness that resolves within a few hours. If lameness persists beyond 24 hours or worsens, veterinary assessment is needed.
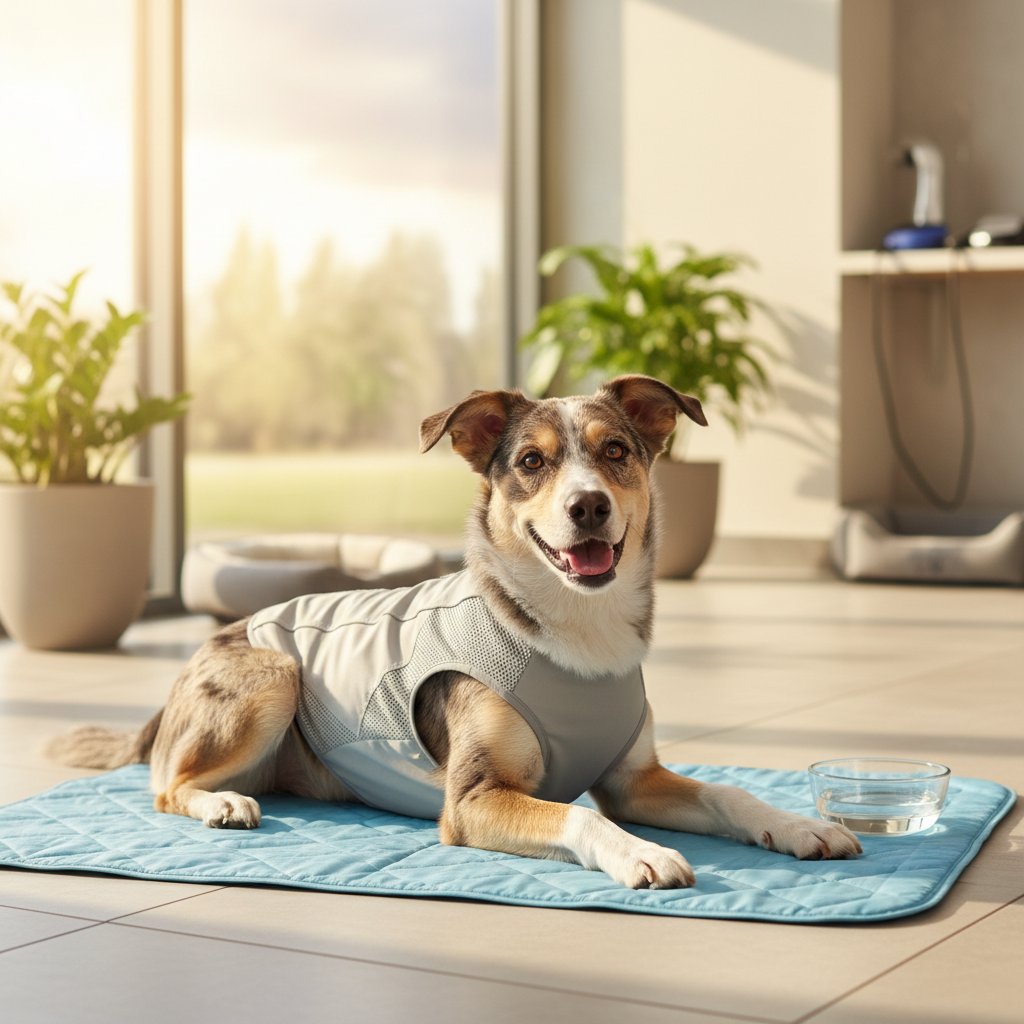
During warmer months, ensure sessions are conducted in a cool environment to prevent overheating. For guidance on recognising heat-related distress, see Heatstroke in Dogs: Cooling Protocols and Breed Risks.
How These Exercises Support Post-Injury Rehabilitation
Veterinary rehabilitation specialists commonly incorporate balance and proprioception work into recovery programmes for:
- Cranial cruciate ligament (CCL) repair
- Fracture healing (once bone union is confirmed)
- Intervertebral disc disease (IVDD) conservative management
- Post-operative muscle wasting (atrophy)
- Neurological conditions affecting limb awareness
After injury or surgery, proprioceptive pathways can become "dulled." The brain receives less reliable feedback from the affected limb, leading to compensatory movement patterns, muscle imbalances, and increased risk of re-injury. Controlled balance exercises gradually retrain these neural pathways, rebuild muscle symmetry, and restore the dog's confidence in using the affected limb.
Professional consensus suggests that home-based proprioceptive exercises, when combined with veterinary-supervised rehabilitation, can improve functional outcomes and owner compliance with recovery protocols. However, timing is critical. Beginning too early after surgery risks disrupting healing tissue, while waiting too long allows compensatory patterns to become entrenched. Always follow the rehabilitation timeline set by the treating veterinarian or veterinary physiotherapist.
For pet sitters managing a dog mid-recovery while the owner is away, clear exercise instructions should be part of any handover notes. See Pet Sitter Emergency Guide: When the Owner Is Away for more on preparing thorough care instructions.
When to Call Your Vet Immediately
Stop all exercises and seek veterinary attention if:
- The dog suddenly cannot bear weight on any limb
- Visible swelling appears at a surgical site or joint
- The dog cries out, yelps, or snaps during gentle movement
- Lameness that was improving suddenly worsens after a session
- Any signs of neurological change occur (knuckling, dragging paws, loss of coordination)
These signs may indicate complications that require professional assessment and should never be managed at home alone.
Building a Sustainable Routine
Consistency matters more than intensity. Veterinary rehabilitation guidelines generally recommend 3 to 5 short sessions per week rather than one or two long ones. A practical home schedule might look like this:
- Monday, Wednesday, Friday: Full session (warm-up, exercises, cool-down: 15 to 20 minutes)
- Tuesday, Thursday: Light session (warm-up, 2 to 3 beginner exercises, cool-down: 10 minutes)
- Weekends: Rest or gentle lead walking
Pair physical work with mental enrichment on rest days. Nosework activities provide excellent low-impact stimulation; for ideas, see Nosework for Senior Dogs: A Spring Training Guide.
Tracking progress helps maintain motivation. Note the duration of holds, number of repetitions, and any observations about the dog's comfort or confidence after each session. Over weeks, owners typically notice improved steadiness, smoother transitions between positions, and increased willingness to engage with the exercises.
For owners budgeting for their dog's first year, it is worth noting that home-based fitness routines can reduce long-term physiotherapy costs. See New Pet Budget 2026: First Year Cost Breakdown for help planning ahead.
Frequently Asked Questions
How often should proprioception exercises be done with a dog? ↓
Can balance exercises replace veterinary physiotherapy after surgery? ↓
What household items can be used for dog proprioception training? ↓
How do you know if a dog is struggling with a balance exercise? ↓

Emma Lawson
Practical Pet Care Educator
Practical pet home care specialist — clear, step-by-step guidance grounded in veterinary nursing standards.
Content Disclosure
This article was created using state-of-the-art AI models with human editorial oversight. It is intended for informational and entertainment purposes only and does not constitute veterinary medical advice. Always consult a licensed veterinarian for your pet's specific health needs. Learn more about our process.