A step by step eight week programme of low impact summer exercises for senior dogs with hip dysplasia. Covers shaded walks, incline work, balance discs, and swimming.
Key Takeaways
- Senior dogs with hip dysplasia benefit from consistent, low impact movement rather than rest alone.
- Summer heat adds a layer of risk: always plan shaded routes and exercise during cooler hours.
- Swimming is one of the safest cardiovascular options because it removes weight from painful joints.
- Balance disc exercises at home can strengthen stabiliser muscles around the hip without heavy loading.
- An eight week tracking log helps owners and veterinary teams spot improvement or flag concerns early.
- Always get veterinary clearance before starting any new exercise programme for a dog with joint disease.
Before You Start: Veterinary Clearance and Preparation
No exercise programme for a dog with hip dysplasia should begin without a veterinary assessment. The attending veterinarian needs to grade the severity of dysplasia, check for concurrent conditions such as osteoarthritis or cruciate ligament weakness, and confirm the dog is on appropriate pain management. Professional guidelines from the British Veterinary Association (BVA) and similar bodies stress that controlled exercise should be tailored to the individual animal's pain level, weight, and overall fitness.
What You Will Need
- A well fitted harness: A padded, Y shaped harness distributes pressure across the chest rather than the neck. Avoid collar only walking for dogs with mobility issues.
- A short, fixed length lead (1.2 to 1.5 metres): Retractable leads allow sudden lunges that stress dysplastic hips.
- A canine balance disc or wobble cushion: Inflatable discs designed for dogs are available from veterinary physiotherapy suppliers. Human balance cushions can work but check the weight rating first.
- Non slip matting: Yoga mats or rubber backed bath mats give traction during indoor exercises.
- A mobility tracking journal or app: A simple notebook works. AI pet wearables can also log activity and gait data automatically.
- Portable water and a collapsible bowl: Hydration is critical in summer, particularly for older dogs.
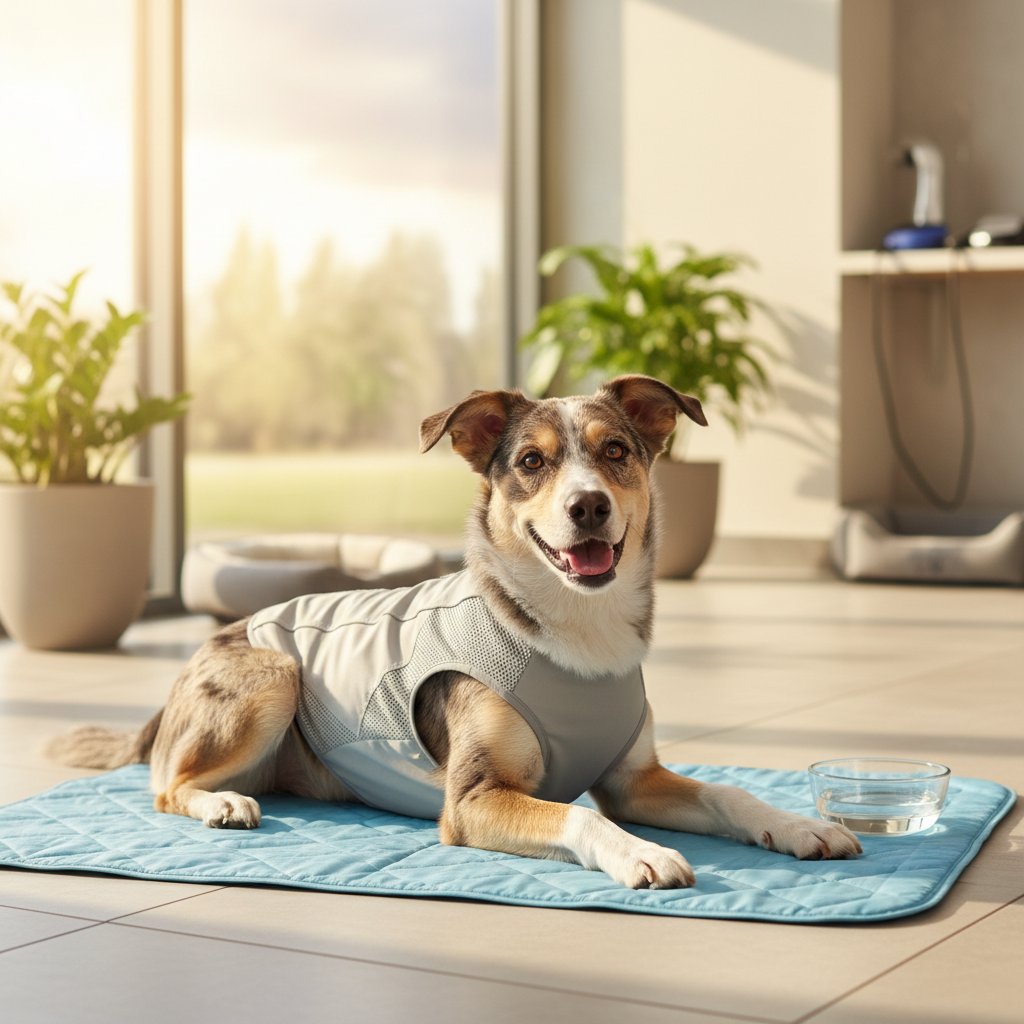
- Cooling accessories (optional): A damp cooling bandana or vest can help regulate body temperature on warm days.
Step by Step: Shaded Walk Planning
Walking remains the foundation of any senior dog exercise programme, but summer heat changes the rules. Pavement temperatures can exceed 60°C (140°F) in direct sun, and senior dogs are less efficient at thermoregulating than younger animals.
How to Plan a Safe Shaded Route
- Time your walks carefully. Aim for early morning (before 8 a.m.) or evening (after 6 p.m.) when ambient temperatures and ground surfaces are coolest.
- Scout the route in advance. Walk it yourself first and note shaded stretches, rest bench locations, and surface types. Grass and earth are far cooler and softer than tarmac or concrete.
- Keep sessions short and predictable. For weeks one and two of the programme, aim for 10 to 15 minutes of gentle, flat walking. Increase by no more than 5 minutes per fortnight if the dog is coping well.
- Use the "back of hand" test. Press the back of your hand to the pavement for 7 seconds. If it is too hot to hold comfortably, the surface will burn paw pads.
- Build in rest stops. Every 5 minutes, pause in shade and offer water. Watch breathing rate: panting that does not settle within 2 to 3 minutes of resting in shade is a sign of heat stress. For a broader overview of heat related emergencies in small pets, see this guide to heat stress management, which covers general cooling principles.
- Walk at the dog's pace. Senior dogs with hip dysplasia often have a shortened stride and a characteristic "bunny hop" gait at faster speeds. Let the dog set the rhythm.
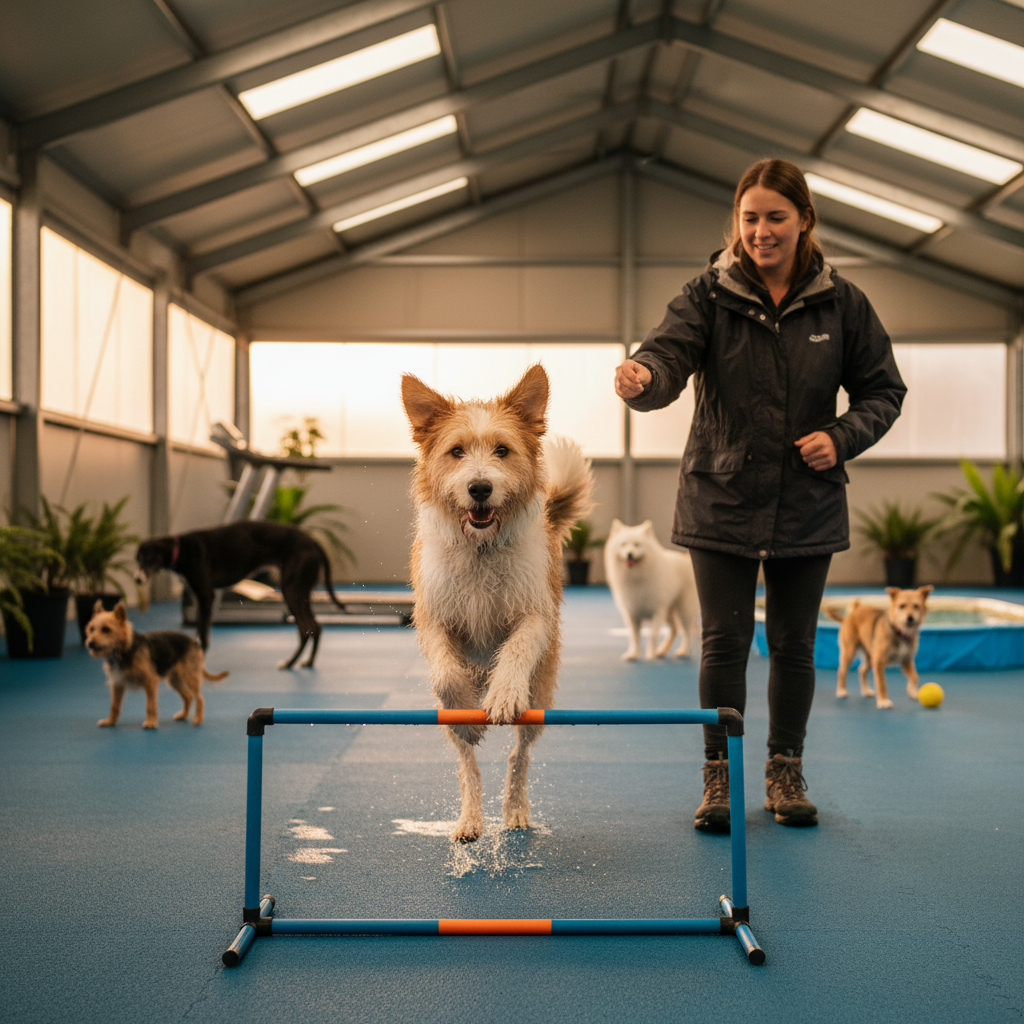
Step by Step: Controlled Incline Work
Gentle inclines recruit the gluteal and hamstring muscle groups that support the hip joint. Veterinary physiotherapy literature consistently identifies targeted hill work as a way to build hindquarter strength without the jarring impact of running or jumping.
How to Introduce Inclines Safely
- Start with a barely noticeable slope. A gradient of roughly 5 to 10 percent (a gentle grassy bank, a slightly sloped driveway) is enough in the first two weeks.
- Walk uphill only at first. The uphill phase loads the hindquarters concentrically, which is generally better tolerated than the eccentric (braking) load of walking downhill. Where possible, walk up the incline and return to flat ground via an alternative path.
- Limit repetitions. Two to three uphill passes per session is adequate for the first month. The goal is muscle activation, not exhaustion.
- Add downhill walking from week five. By this point, core and hindquarter strength should have improved enough to handle gentle descents. Keep downhill sections slow and use the lead to prevent the dog from rushing.
- Avoid stairs as a substitute. Stairs impose a much steeper angle and require individual limb loading at each step, which can aggravate hip pain. Ramps are preferable for daily access around the home.
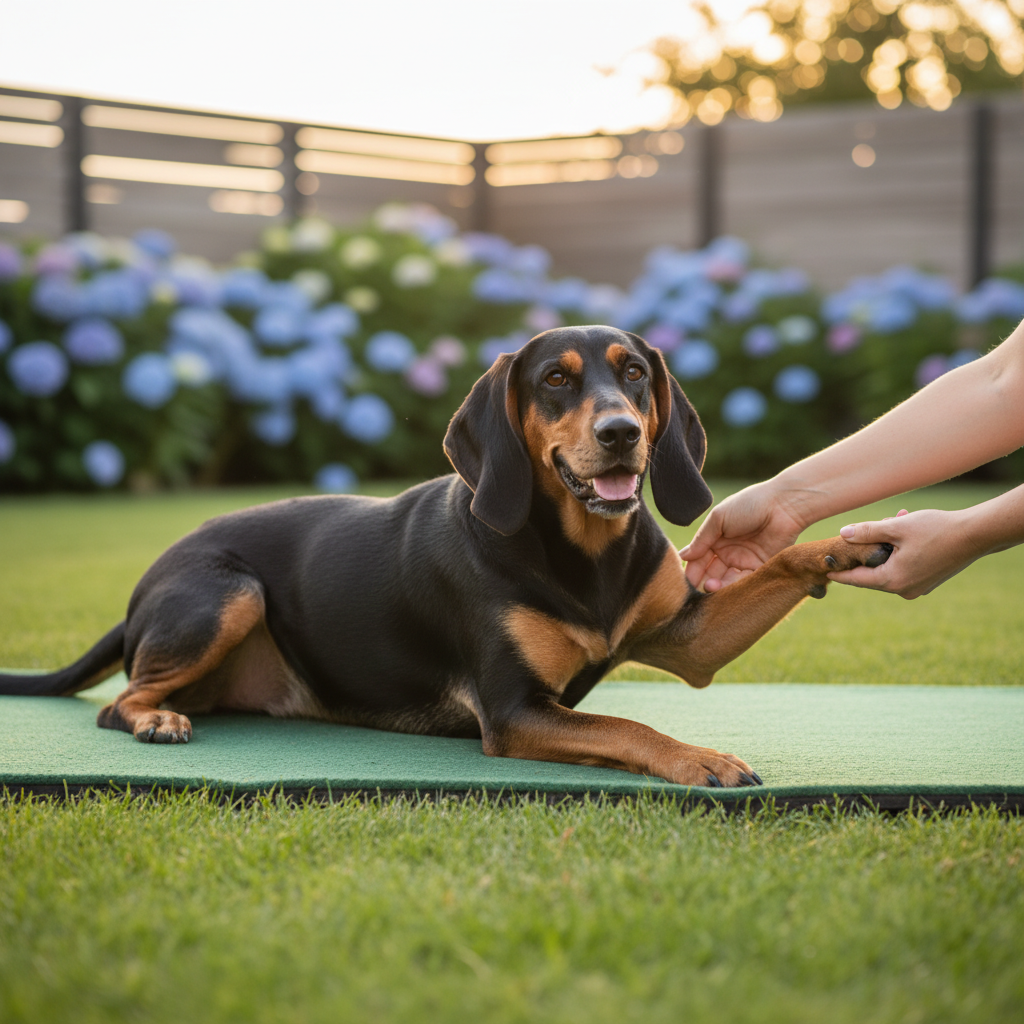
Step by Step: Balance Disc Exercises at Home
Balance (proprioceptive) training is a cornerstone of canine physiotherapy. It activates the small stabiliser muscles around the hip and pelvis, improves body awareness, and can be done in any living room on a non slip mat.
Equipment Setup
- Place a non slip mat on a hard floor surface.
- Position the balance disc (partially inflated so it has some give) on the mat.
- Have high value treats ready: small, soft pieces the dog can swallow quickly.
Exercise Progression
- Weeks 1 to 2: Front paws on the disc. Lure the dog to place both front paws on the disc while the rear paws stay on the floor. Hold for 5 to 10 seconds, reward, and step off. Repeat 5 times per session, once or twice daily. This is the easiest variation and most owners find their dog needs a few sessions to feel confident on the unstable surface.
- Weeks 3 to 4: Rear paws on the disc. This is the more therapeutically valuable position because it directly challenges the hip stabilisers. Guide the dog so the rear paws are on the disc and front paws are on the mat. Hold for 5 to 10 seconds. Many dogs find this harder, so start with 3 repetitions and build to 5.
- Weeks 5 to 6: All four paws on the disc (if size allows). For smaller to medium dogs, a larger disc or wobble board may accommodate all four paws. For larger breeds, continue rear paw work but increase hold time to 15 to 20 seconds.
- Weeks 7 to 8: Add gentle weight shifts. While the dog stands on the disc, use a treat to lure a slight head turn left and right. This shifts the centre of gravity and forces the hind limbs to make micro adjustments. Keep movements slow and controlled.
Important: If the dog trembles excessively, yelps, sits down immediately, or refuses to engage, stop the session. Discomfort during proprioceptive work may indicate that pain management needs adjusting, and a veterinary review is warranted.
Step by Step: Swimming as a Non Weight Bearing Alternative
Hydrotherapy is widely recognised in veterinary rehabilitation as one of the best exercises for dogs with hip dysplasia. Water buoyancy supports roughly 60 to 85 percent of a dog's body weight (depending on depth), allowing full range of joint motion with minimal pain.
Choosing the Right Swimming Environment
- Purpose built canine hydrotherapy pools are ideal because the water temperature is maintained (typically around 28 to 30°C), there is professional supervision, and entry ramps are designed for dogs.
- Calm natural water bodies (shallow lakes, slow streams) can work if the dog is a confident swimmer, but there is less control over temperature, currents, and water quality.
- Home paddling pools are useful for dogs who are nervous in deep water. Even walking through chest deep water provides resistance training for the hind limbs.
How to Introduce Swimming
- Fit a canine life jacket. Even strong swimmers benefit from buoyancy support. A life jacket with a dorsal handle allows the owner or therapist to guide and support the dog.
- Enter the water gradually. Walk the dog in on a gentle slope or ramp. Never throw or place a senior dog into water.
- Start with 5 minutes of swimming or wading. Increase by 2 to 3 minutes per week up to a maximum of about 15 to 20 minutes.
- Support the hindquarters if needed. A hand under the belly or the life jacket handle prevents the dog from swimming with the front legs only, which is a common compensation pattern in dogs with hip pain.
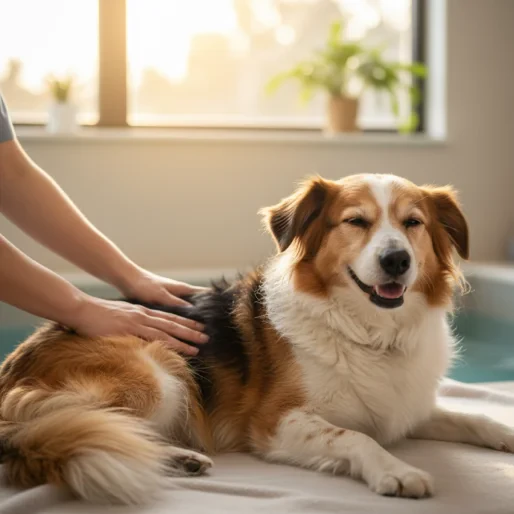
- Rinse and dry thoroughly afterwards. Chlorinated or natural water residue can irritate skin, especially in older dogs with thinner coats.
Swimming sessions once or twice a week complement the land based walking and balance work outlined above.
What to Watch for During and After Exercise
Monitoring the dog's response after every session is essential. The following signs suggest the exercise was well tolerated:
- The dog is relaxed and settles to rest within 15 to 30 minutes.
- Gait is the same as or slightly better than before the session.
- Appetite and water intake remain normal.
Warning Signs That Indicate Overexertion
- Lameness that is worse after exercise than before.
- Reluctance to stand, walk, or climb onto a bed the following morning ("next day stiffness").
- Swelling or warmth around the hip or stifle joints.
- Behavioural changes: snapping when touched near the hips, reluctance to be handled, or loss of appetite.
If next day stiffness occurs after a session, reduce duration and intensity by 50 percent and reassess. If stiffness persists for more than 48 hours, consult the veterinary team.
When to Call Your Vet Immediately
- The dog is non weight bearing on one or both hind limbs.
- There is sudden, severe lameness during exercise (possible cruciate rupture or fracture).
- Signs of heat stroke appear: excessive panting that does not resolve, drooling, bright red gums, vomiting, or collapse. This guide on heat stroke first aid covers cooling principles that apply across species.
- The dog cries out or shows signs of acute pain at any point.
How to Track Mobility Improvement Over Eight Weeks
Tracking progress turns subjective feelings ("he seems a bit better") into data that can guide decisions. A simple weekly log is all that is needed.
What to Record Each Week
- Walk duration and distance: Note how far and how long the dog walked comfortably.
- Gait score (1 to 5): Use a consistent scale. For example: 1 = severe lameness, 2 = obvious lameness at walk, 3 = mild lameness at walk, 4 = lameness visible only at trot, 5 = no visible lameness.
- Sit to stand time: Time how long it takes the dog to rise from a sitting position. This is a practical functional measure that often improves with strengthening.
- Balance disc hold time: Record the seconds held in each position.
- Pain indicators: Note any vocalisation, flinching, or reluctance during or after sessions.
- General notes: Energy level, willingness to play, ease of getting in and out of the car, stair avoidance, and similar everyday observations.
Owners who use AI wearable devices can supplement manual logs with objective step counts and activity intensity data, which can be shared directly with the veterinary rehabilitation team.
Interpreting Progress
Realistic expectations are important. Over an eight week low impact programme, many owners observe:
- Improved sit to stand transition speed by weeks 4 to 6.
- Longer comfortable walk durations (often an increase of 5 to 10 minutes from baseline).
- Greater confidence on the balance disc, especially in rear paw exercises.
- Reduced morning stiffness on most days.
If no improvement is seen by the end of week four, or if the dog's condition worsens at any point, a veterinary reassessment is strongly recommended. The pain management plan, the exercise intensity, or both may need adjustment. In some cases, referral to a certified canine rehabilitation therapist (CCRT or equivalent) is the best next step.
Sample Weekly Schedule (Weeks 1 to 2)
| Day | Activity | Duration |
|---|---|---|
| Monday | Shaded flat walk | 10 to 15 min |
| Tuesday | Balance disc (front paws), 5 reps | 5 to 10 min |
| Wednesday | Shaded flat walk | 10 to 15 min |
| Thursday | Rest or gentle free movement in garden | As tolerated |
| Friday | Balance disc (front paws), 5 reps | 5 to 10 min |
| Saturday | Swimming or wading (if available) | 5 min |
| Sunday | Rest day | N/A |
From week three onward, gradually introduce gentle inclines on walk days and progress balance disc work to rear paw placement, following the progression outlined above. Always allow at least one full rest day per week.
Final Notes on Summer Safety
Summer exercise for senior dogs with hip dysplasia is about finding the balance between enough movement to maintain muscle mass and joint range, and too much movement that causes pain flare ups or heat related illness. The programme above is a starting framework. Every dog is different, and the best outcomes come from close collaboration between the owner and a veterinary or rehabilitation professional who can adjust the plan as the dog responds.
Weight management also plays a major role. Even a modest reduction in excess body weight can significantly reduce mechanical load on dysplastic hips. Owners should discuss a body condition score assessment with their veterinarian alongside this exercise programme.
For owners managing senior pets of other species, similar principles of age appropriate activity and careful monitoring apply. The approach to senior rabbit care, for instance, also centres on adapting routines to the animal's changing needs.
Frequently Asked Questions
How long should a senior dog with hip dysplasia walk in summer? ↓
Is swimming safe for dogs with hip dysplasia? ↓
What equipment do you need for balance disc exercises? ↓
How can you tell if your senior dog is being overexercised? ↓
When should you contact a vet during this exercise programme? ↓

Emma Lawson
Practical Pet Care Educator
Practical pet home care specialist — clear, step-by-step guidance grounded in veterinary nursing standards.
Content Disclosure
This article was created using state-of-the-art AI models with human editorial oversight. It is intended for informational and entertainment purposes only and does not constitute veterinary medical advice. Always consult a licensed veterinarian for your pet's specific health needs. Learn more about our process.