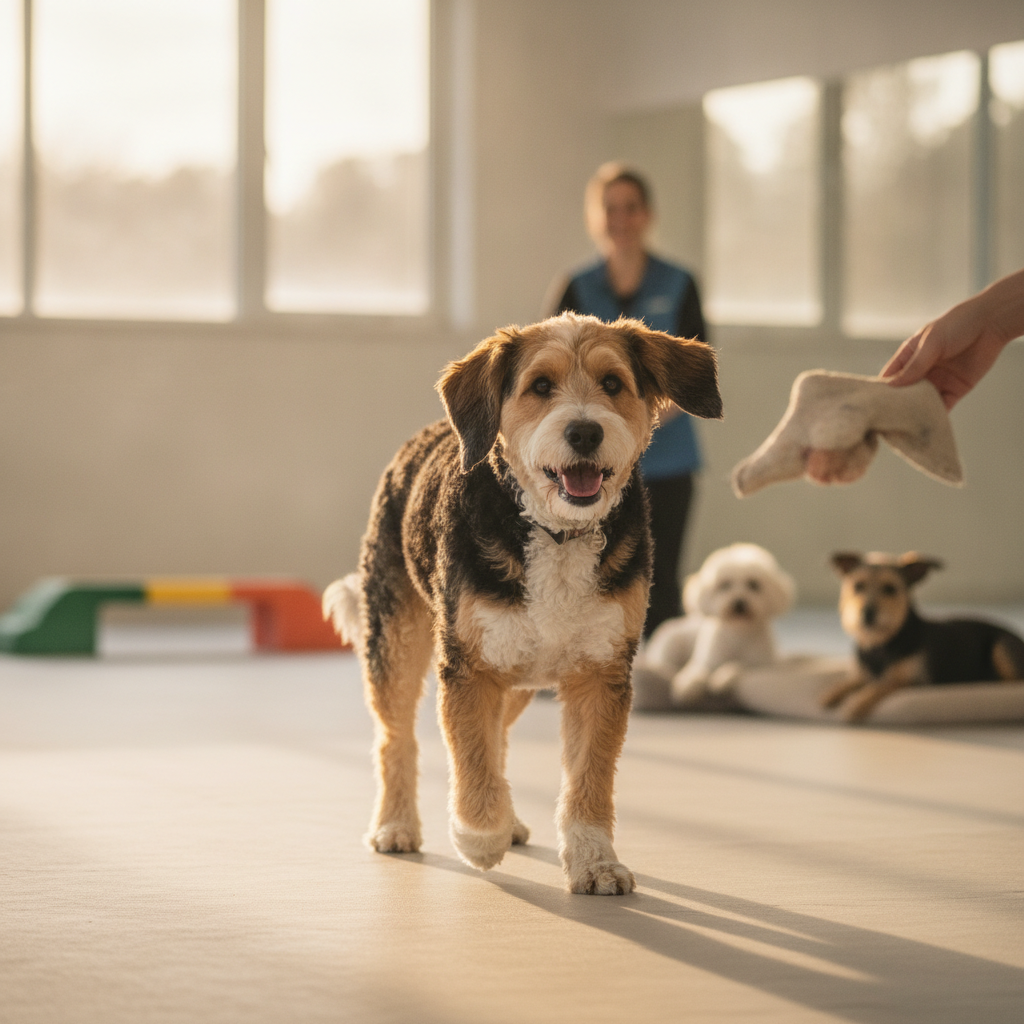
Learn how to help a senior dog with arthritis enjoy spring walks safely. This guide covers warm up stretches, walk duration by severity, surface selection, harness fitting, and when to seek veterinary pain management.
Key Takeaways
- A 5 to 10 minute indoor warm up routine before every walk reduces stiffness and lowers the risk of flare ups.
- Walk duration should be matched to your dog's arthritis severity grade: mild cases tolerate 20 to 30 minutes, while severe cases may need just 5 to 10 minutes.
- Soft, even surfaces such as grass, packed earth, or rubberised paths protect arthritic joints far better than concrete or gravel.
- A well fitted supportive harness redistributes weight away from painful joints, especially in the forelimbs and spine.
- Veterinary pain management should be considered when home care strategies alone no longer keep your dog comfortable.
Why Spring Is Both an Opportunity and a Risk for Arthritic Dogs
After months of cold, damp weather that tends to worsen joint stiffness, spring offers warmer temperatures and softer ground. Most owners notice their senior dog seems more willing to move once the chill lifts. However, that renewed enthusiasm can lead to overdoing it. A dog that has been relatively sedentary through winter may push past safe limits on a warm spring day, triggering a painful inflammatory flare. The goal of this guide is to help owners channel that spring energy safely, using evidence based warm up techniques, structured walk plans, and the right equipment.
What You Will Need Before You Start
- Non slip mat or yoga mat: for indoor stretching exercises.
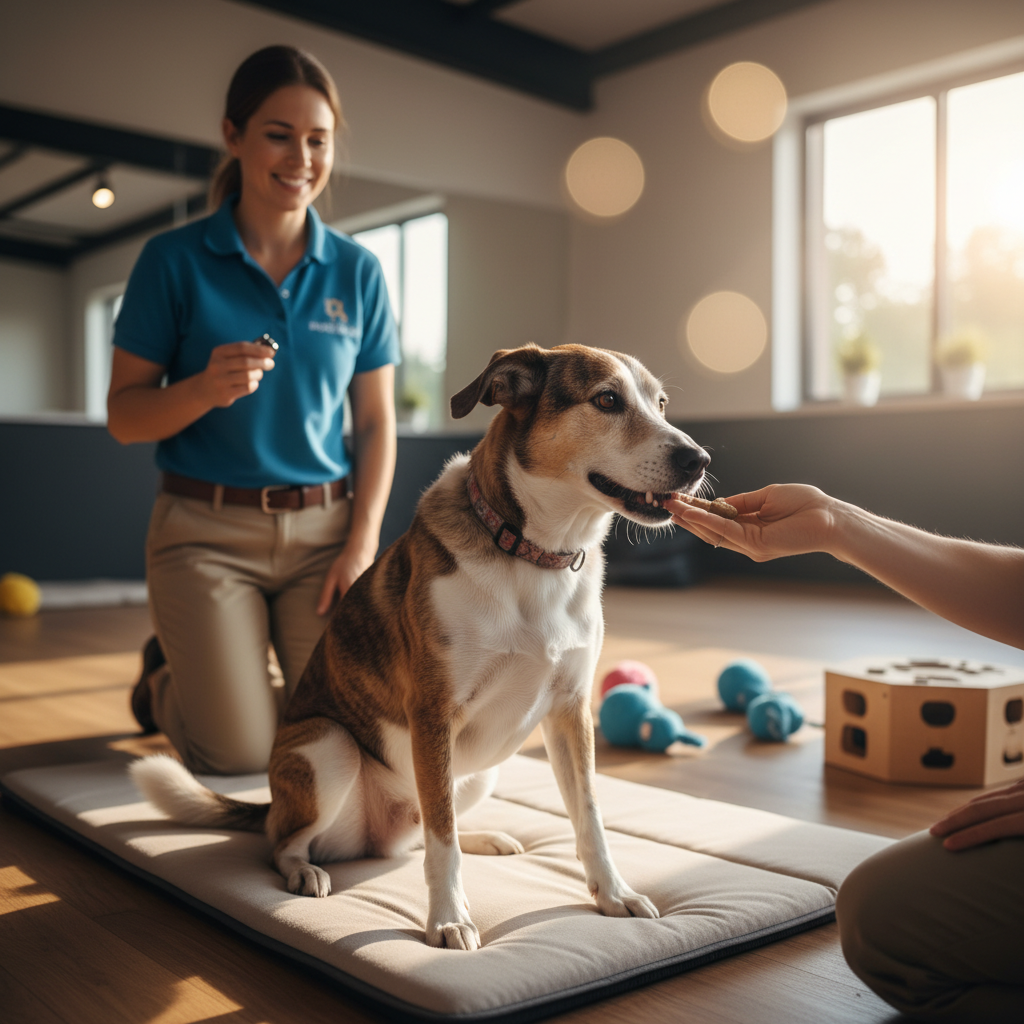
- High value, soft training treats: to reward cooperation during stretches. Consider sustainable options like those covered in our insect based dog treats guide.
- Supportive harness with a padded chest plate: front clip or dual clip designs are generally preferred for arthritic dogs.
- Lead (1.5 to 1.8 metres): a fixed length lead gives better control than a retractable one.
- Towel or thermal wrap: for applying gentle warmth to stiff joints before stretching.
- Notebook or phone app: for tracking walk duration, surface type, and how your dog moves the following day.
Step 1: Understand Your Dog's Arthritis Severity
Before planning any walk, it helps to have a realistic picture of how advanced the arthritis is. Veterinary professionals commonly use a grading system that ranges from mild to severe. While a formal diagnosis requires veterinary assessment (including physical examination and often radiographs), the following general descriptions can help owners gauge where their dog falls.
Mild (Grade 1)
The dog is slightly stiff after rest but warms out of it within a few minutes of gentle movement. There may be occasional reluctance to jump or climb stairs, but overall mobility is good.
Moderate (Grade 2)
Stiffness is noticeable most mornings and after naps. The dog may limp intermittently, show reluctance to walk on harder surfaces, or sit down during walks. Muscle loss around the affected joints may be visible.
Severe (Grade 3 to 4)
The dog is consistently lame on one or more limbs, may struggle to rise from lying down, and shows obvious discomfort during or after even short walks. Significant muscle wasting is often present. Dogs at this stage should already be under active veterinary management.
Important: If your dog has not yet been assessed by a veterinarian for arthritis, that is the essential first step. Home care strategies work best alongside, not instead of, professional diagnosis.
Step 2: Indoor Warm Up Stretches Before Leaving the House
Cold, stiff joints are more vulnerable to strain. A brief indoor warm up before heading outside makes a measurable difference. Veterinary physiotherapy guidelines consistently recommend gentle range of motion exercises before any weight bearing activity in arthritic patients.
Apply Gentle Warmth (2 to 3 Minutes)
Wrap a towel warmed in the tumble dryer (test it on the inside of your wrist first; it should feel pleasantly warm, never hot) around the most affected joints. Hold it in place for two to three minutes. This increases local blood flow and makes the tissue more pliable for stretching.
Passive Range of Motion Exercises (3 to 5 Minutes)
With your dog lying on their side on a non slip mat:
- Hip flexion and extension: Gently support the hind leg above and below the knee. Slowly move the leg forward (flexion) and then back (extension) through a comfortable range. Perform 8 to 10 repetitions per leg. Stop immediately if your dog tenses, vocalises, or tries to pull away.
- Shoulder flexion and extension: Support the front leg above and below the elbow. Gently move it forward and back through a comfortable range. Again, 8 to 10 repetitions per leg.
- Gentle ankle and wrist circles: Hold the paw and very slowly rotate it in small circles, 5 in each direction. This is particularly helpful for dogs with lower limb stiffness.
Weight Shifting Exercises (2 to 3 Minutes)
With your dog standing on the non slip mat:
- Gently press your hand against one hip, encouraging a slight weight shift to the opposite side. Hold for 3 to 5 seconds, then release. Repeat 5 times each side.
- Use a treat to encourage slow head turns to the left and right (this shifts weight through the shoulders and spine).
For dogs comfortable with more advanced stability work, our dog balance exercises at home guide offers a progressive programme that complements these stretches well.
Common Mistakes During Warm Ups
- Moving too fast: Stretches should be slow and rhythmic, never bouncy or forced.
- Skipping the warm towel step: Most owners skip this the first time because it feels like an unnecessary extra. However, it genuinely reduces resistance during the passive stretches.
- Continuing through discomfort: If the dog growls, flinches, snaps, or tries to move away, that joint has reached its comfortable limit. Forcing past it risks injury and erodes your dog's trust in the routine.
Step 3: Plan Walk Duration by Severity Grade
One of the most common errors owners make is applying a one size fits all approach to walk length. Veterinary rehabilitation professionals generally recommend the following ranges, though every dog is different and your own dog's responses should always guide adjustments.
Mild Arthritis
Duration: 20 to 30 minutes per walk, once or twice daily.
Pace: Steady, moderate pace set by the dog (not the owner).
Rest breaks: Optional; watch for slowing or lagging behind.
Moderate Arthritis
Duration: 10 to 20 minutes per walk, once or twice daily.
Pace: Slow to moderate. Allow frequent sniffing, which provides mental stimulation without physical strain. Scent work is an excellent low impact enrichment activity; see our nosework for senior dogs guide for structured ideas.
Rest breaks: Plan a brief seated or standing rest halfway through.
Severe Arthritis
Duration: 5 to 10 minutes per walk, up to three very short outings daily if tolerated.
Pace: Entirely dog led. Be prepared to turn back at any time.
Rest breaks: Frequent. Some dogs do better with a "garden potter" approach: gentle movement around the garden or a small circuit rather than a structured walk.
The 24 hour rule: The best way to tell if a walk was too long is to observe your dog the following day. Increased stiffness, reluctance to rise, or limping 12 to 24 hours after a walk is a reliable sign that duration or intensity needs to be reduced.
Step 4: Choose Surfaces That Protect Joints
The walking surface matters enormously for an arthritic dog. Each footstep transmits impact force through the joints, and harder or more uneven surfaces amplify that force.
Best Surfaces
- Short, maintained grass: Provides natural cushioning and slight resistance that strengthens muscles without jarring joints.
- Packed earth or woodland trails: Softer than pavement and relatively even. Check for hidden roots or holes.
- Rubberised park paths: Increasingly common in modern parks; excellent shock absorption.
Acceptable With Caution
- Tarmac or asphalt: Better than concrete but still transmits significant impact. Acceptable for short distances, especially on warm (not hot) days.
- Flat sand (firm, damp): Provides cushioning but loose, dry sand forces joints to work harder, so stick to the firmer areas near the waterline.
Surfaces to Avoid
- Concrete and paving slabs: Very hard impact surfaces with no give.
- Gravel or loose stone: Unstable underfoot, forces compensatory movements that stress joints.
- Steep hills or uneven rocky terrain: Places excessive load on already compromised joints.
- Wet, slippery surfaces: Arthritic dogs often have reduced proprioception (awareness of limb position) and are more prone to slipping, which can cause acute injuries.
Spring Specific Surface Tips
In early spring, ground that looks dry on top may be saturated underneath, creating a deceptively slippery layer. Test the surface by pressing your foot down firmly before walking your dog across it. Muddy ground is also problematic: it "suctions" the paws, requiring extra effort to lift each foot, which fatigues arthritic limbs quickly.
Step 5: Fit a Supportive Harness Correctly
A well chosen harness is one of the most impactful pieces of equipment for an arthritic dog. Collars should generally be avoided as the sole point of lead attachment for senior dogs, as they concentrate force through the neck and cervical spine.
What to Look For
- Padded chest plate: Distributes pressure across the sternum rather than concentrating it on the trachea or shoulder points.
- Back handle or lift assist strap: Allows you to help your dog over curbs, into cars, or up from rest without pulling on limbs.
- Adjustable straps at a minimum of four points: Ensures a snug, non shifting fit that avoids rubbing.
- Front or dual clip lead attachment: Front clip designs gently redirect forward momentum, which is helpful for dogs that still pull despite slowing down overall.
How to Fit the Harness
- Place the harness on your dog according to the manufacturer's instructions. The chest plate should sit centred on the breastbone, not pressing against the throat.
- Adjust all straps so you can slide two flat fingers between the harness and your dog's body at every contact point.
- Check that the harness does not sit across or behind the shoulder blades in a way that restricts natural shoulder movement. This is the most commonly reported fitting error and it can actually worsen a front limb gait problem.
- Walk your dog indoors for a few minutes to observe their gait. Watch for any change in stride length, rubbing, or skin pinching.
- Re check the fit every two to four weeks. Arthritic dogs often experience muscle loss over time, which changes body shape.
Step 6: What to Watch For During and After the Walk
During the Walk
- Slowing pace or stopping: Respect this. It is communication, not stubbornness.
- Bunny hopping gait (using both hind legs together): Suggests hip or lower back pain. Turn back and shorten tomorrow's walk.
- Excessive panting in cool weather: Can indicate pain rather than heat.
- Sitting or lying down mid walk: The dog has reached their limit. Allow rest, then walk home slowly.
- Licking or chewing at a specific joint: Indicates localised discomfort in that area.
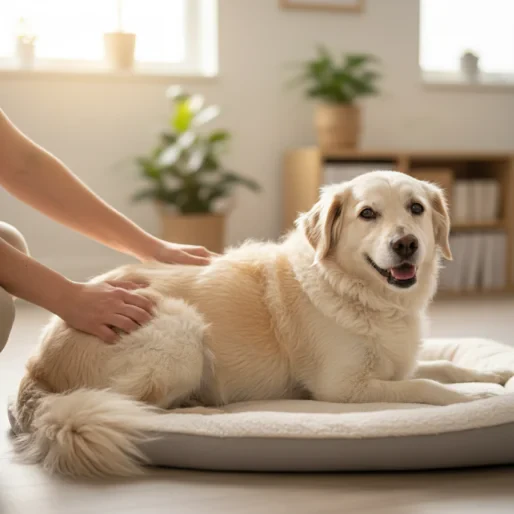
After the Walk
- Offer water immediately upon returning home.
- Allow your dog to settle on a supportive orthopaedic bed. Flat, thin bedding does not adequately cushion arthritic joints.
- Observe gait and comfort level for the rest of the day and the following morning.
- Record walk duration, surface type, and any symptoms noted, in your tracking log. Patterns typically emerge within one to two weeks and are invaluable for adjusting the routine.
Step 7: When to Add Veterinary Pain Management
Home care strategies (warm ups, controlled walks, supportive equipment, weight management) are the foundation. However, there comes a point for many arthritic dogs where these measures alone are not enough to keep them comfortable. Recognising that threshold is one of the most important responsibilities an owner has.
Signs That Home Care Alone Is Not Sufficient
- Your dog is consistently stiff or lame despite warm ups and appropriate walk lengths.
- Willingness to walk is declining week over week.
- Sleep is being disrupted: the dog shifts position frequently, whimpers, or cannot settle.
- Appetite or general demeanour has changed (pain affects mood and eating habits).
- Your dog can no longer manage basic movements such as rising from rest, walking to the water bowl, or posturing to toilet without visible difficulty.
What Your Veterinarian May Recommend
Veterinary pain management for arthritis is a well established field with multiple options. These may include:
- Non steroidal anti inflammatory drugs (NSAIDs): The most commonly prescribed first line treatment for osteoarthritis pain in dogs. These require veterinary prescription and regular blood work monitoring.
- Adjunctive pain medications: Additional drugs may be added if NSAIDs alone are insufficient. Your vet will tailor these to your dog's specific needs.
- Joint supplements: Products containing ingredients such as glucosamine, chondroitin, or omega 3 fatty acids are widely used as part of a multimodal approach, though evidence for their efficacy varies.
- Monoclonal antibody therapies: A newer category of treatment specifically developed for osteoarthritis pain in dogs. These are administered by injection at the veterinary clinic, typically on a monthly basis.
- Physiotherapy and hydrotherapy referrals: Professional rehabilitation can significantly improve mobility and muscle strength.
- Weight management plans: Excess body weight is one of the single biggest modifiable factors in arthritis progression. Even a modest reduction in body weight can produce a noticeable improvement in mobility.
Never administer human pain medications to your dog. Common over the counter human painkillers such as ibuprofen and paracetamol (acetaminophen) can be toxic or fatal to dogs, even in small doses. All pain management must be directed by your veterinarian.
When to Call Your Vet Immediately
The following situations require urgent veterinary attention rather than a wait and see approach:
- Sudden, severe lameness or complete inability to bear weight on a limb (this may indicate a ligament rupture, fracture, or acute joint injury rather than a gradual arthritis flare).
- Swelling, heat, or redness around a joint that develops rapidly.
- Vocalisation (crying, yelping) when a joint is touched or during movement.
- Collapse or inability to rise even with assistance.
- Any suspected ingestion of medications not prescribed for your dog.
If your dog is being cared for by a pet sitter when any of these signs occur, our pet sitter emergency guide outlines the steps a temporary carer should follow.
Putting It All Together: A Sample Spring Morning Routine
- Warm towel application (2 to 3 minutes): Focus on hips, knees, or shoulders, whichever joints are most affected.
- Passive range of motion stretches (3 to 5 minutes): Gentle, slow, rewarded with soft treats.
- Weight shifting exercises (2 to 3 minutes): Standing on the non slip mat.
- Harness fitting and lead up: Check fit, attach lead to front or dual clip.
- Walk on a soft surface (duration matched to severity): Dog sets the pace. Sniffing encouraged.
- Return home, water, and rest on supportive bedding.
- Log the session: Note duration, surface, gait quality, any signs of discomfort.
Consistency matters more than intensity. A gentle daily routine maintained over weeks will produce better outcomes than occasional longer walks. Spring is the ideal season to establish this pattern, while warmer temperatures naturally support easier movement.
Final Thoughts
Arthritis does not mean the end of outdoor enjoyment for a senior dog. With thoughtful preparation, appropriate expectations, and the right equipment, most arthritic dogs can continue to benefit from the physical and mental stimulation that spring walks provide. The key is to listen to the dog, adjust the plan based on what is observed (not what was possible last year), and involve the veterinary team early when home strategies reach their limits. A collaborative approach between owner and veterinarian gives arthritic dogs the best quality of life in their senior years.
Frequently Asked Questions
How long should I walk my senior dog with arthritis? ↓
What surfaces are best for walking a dog with arthritis? ↓
Should I warm up my arthritic dog before a walk? ↓
When should I ask my vet about pain medication for my dog's arthritis? ↓
Can I give my dog human painkillers for arthritis? ↓

Emma Lawson
Practical Pet Care Educator
Practical pet home care specialist — clear, step-by-step guidance grounded in veterinary nursing standards.
Content Disclosure
This article was created using state-of-the-art AI models with human editorial oversight. It is intended for informational and entertainment purposes only and does not constitute veterinary medical advice. Always consult a licensed veterinarian for your pet's specific health needs. Learn more about our process.