Dogs that have been less active over winter often show visible stiffness when activity levels increase in spring. This step-by-step guide covers safe, low-impact warm-up routines owners can perform at home to ease joint stiffness and rebuild mobility gradually.
Key Takeaways
- Winter inactivity leads to reduced synovial fluid production, muscle deconditioning, and increased joint stiffness in dogs of all ages.
- A structured warm-up routine before walks or play can significantly reduce the risk of soft tissue injury and pain flare-ups.
- Low-impact exercises such as controlled leash walking, gentle range-of-motion movements, and slow weight shifts are safe starting points for most dogs.
- Signs like persistent limping, vocalisation during movement, or reluctance to bear weight on a limb require prompt veterinary assessment.
- Consistency matters more than intensity: five to ten minutes of daily warm-up is more beneficial than one long session per week.
Why Dogs Get Stiff After Winter
During colder months, many dogs spend more time resting indoors. Shorter daylight hours and wet or icy conditions naturally reduce walk duration and off-lead exercise. Over weeks and months, this lower activity level has measurable effects on the musculoskeletal system.
Synovial fluid, the natural lubricant inside joints, is produced in response to movement. When a dog is sedentary for extended periods, the volume and viscosity of this fluid decreases, leaving joints feeling "creaky" when activity resumes. Muscles that have been underused lose tone and elasticity, and tendons become less supple. The result is a dog that looks stiff rising from rest, takes a few steps to "warm into" a walk, or shows reluctance to jump or climb stairs.
This is not exclusively a senior dog problem. While older dogs and breeds predisposed to orthopaedic conditions (such as Labrador Retrievers, German Shepherds, and Golden Retrievers) are more visibly affected, younger dogs that have been inactive can also show post-winter stiffness. The difference is that younger dogs typically loosen up faster, while seniors may need more structured support.
For dogs already managing arthritis during the colder months, the transition into spring activity requires particular care. Managing Arthritis in Senior Dogs During Cold Snaps covers the winter management side of this equation.
Before You Begin: What You Need
Equipment
- Non-slip surface: A yoga mat, rubber-backed bath mat, or carpet runner. Dogs cannot perform controlled movements safely on slippery floors.
- Short lead (1.2 to 1.5 metres): For controlled leash walking warm-ups outdoors.
- High-value treats: Small, soft treats for luring and rewarding. Cut to pea-sized pieces to avoid overfeeding during sessions.
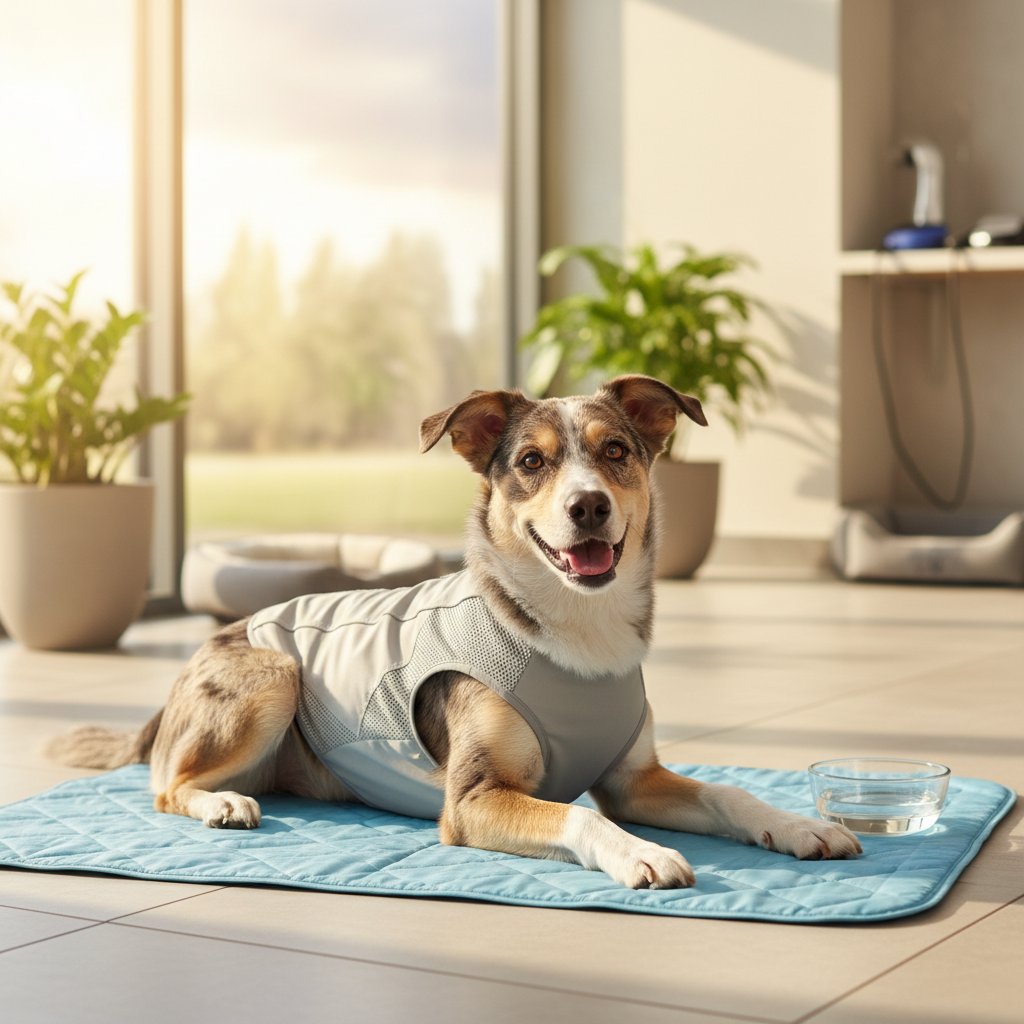
- Warm towel or wheat bag (optional): For applying gentle warmth to stiff joints before the routine, particularly for senior dogs.
Health Check
Before starting any new exercise routine with a dog showing joint stiffness, a veterinary assessment is strongly recommended. What looks like normal post-winter stiffness can sometimes mask underlying conditions such as cruciate ligament disease, hip dysplasia progression, or early immune-mediated joint disease. A vet can confirm whether home-based warm-up routines are appropriate and flag any joints that need protection or modified approaches.
This is especially important if the dog is on any existing pain medication or joint supplements, as the exercise plan should complement, not conflict with, the treatment protocol.
Step-by-Step Warm-Up Routine
This routine is designed to take 8 to 12 minutes and should be performed before the main walk or play session. It progresses from passive warming to active, controlled movement.
Step 1: Passive Warming (2 to 3 Minutes)
If the dog has been resting, start by gently warming the major joint areas before asking for any movement.
- Warm a towel in the tumble dryer for a few minutes or heat a wheat bag according to its instructions. The surface should feel comfortably warm against the inside of your wrist, never hot.
- Place the warm towel or wheat bag over the dog's hips, shoulders, or any joints that typically appear stiffest. Hold in place for 60 to 90 seconds per area.
- While applying warmth, use slow, flat-palm strokes along the muscles of the back and thighs. This is not a deep massage; the goal is simply to increase superficial blood flow to the tissues.
What to watch for: If the dog flinches, tenses, or moves away when warmth is applied to a specific joint, note that area. Consistent sensitivity in one location warrants veterinary attention.
Step 2: Gentle Range-of-Motion Movements (2 to 3 Minutes)
With the dog standing on a non-slip surface, use a treat to guide slow, controlled body movements. The dog should be moving voluntarily, following the treat lure. These are not stretches being forced into position.
- Nose to hip (left and right): Hold a treat at the dog's nose and slowly draw it towards their left hip, encouraging them to curve their body in a C-shape. Hold for 2 to 3 seconds, then repeat on the right side. Perform 3 repetitions per side.
- Nose to chest: Lure the dog's nose gently down towards their chest, encouraging a slight flexion of the neck and upper spine. Hold briefly, then release. Repeat 3 times.
- Nose up (chin lift): Lure the nose gently upward so the dog extends the neck. This engages the muscles along the topline. Hold for 2 seconds, repeat 3 times.
These cookie stretches (so named because treats guide the movement) are widely used in canine physiotherapy. The key principle is that the dog controls the depth and speed of the movement. If a dog cannot reach a position comfortably, that is their current range, and it should not be forced further.
Step 3: Controlled Weight Shifting (2 Minutes)
Weight shifting encourages the dog to load each limb in turn, activating stabiliser muscles around the joints without high-impact forces.
- With the dog standing squarely on a non-slip surface, gently place your hand against one shoulder and apply very light, steady pressure (just enough to encourage the dog to shift weight onto the opposite front leg). Hold for 3 to 5 seconds, then release. Repeat on the other side.
- Perform the same exercise at the hips: light pressure on one hip encourages weight loading onto the opposite hind leg.
- Complete 3 repetitions per side, both front and rear.
Important: The pressure should be gentle enough that the dog adjusts their stance without needing to step sideways. If the dog steps away or sits down, the pressure is too much.
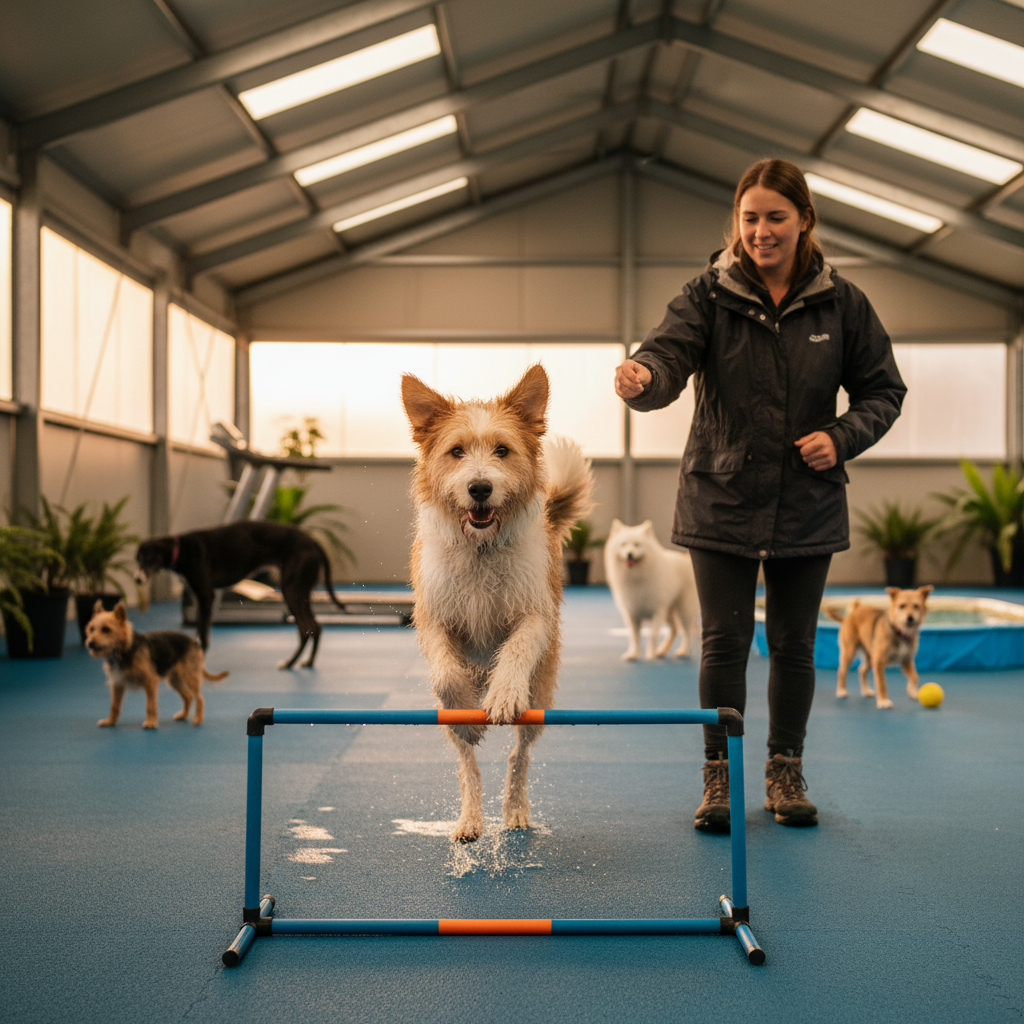
Step 4: Slow Controlled Walking (3 to 4 Minutes)
This is the active warm-up phase. The goal is to move the dog through a full range of motion at a pace slow enough to be deliberate but fast enough to be a proper walk, not a shuffle.
- On a short lead, walk the dog at a slow, steady pace on a flat, even surface. Avoid uneven ground, steep inclines, or slippery paths for this phase.
- After 60 seconds of straight-line walking, incorporate gentle curves: walk in wide circles (approximately 3 to 4 metres in diameter), first clockwise, then anticlockwise. Circles encourage lateral flexion of the spine and differential loading of the inside and outside limbs.
- Include 2 to 3 gentle transitions between walking and standing still. Ask the dog to halt, pause for 5 seconds, then walk on. Transitions recruit the stabilising muscles around the stifle (knee) and hock.
If conditions allow, walking on slightly soft ground (such as short grass) provides gentle resistance that is easier on joints than hard pavement. As the weather improves, outdoor surface options expand. For guidance on protecting paws during the transitional season, Paw Care During The Big Thaw is a useful companion resource.
Step 5: Gradual Transition to Normal Activity
After completing Steps 1 through 4, the dog's joints and muscles should be warmer and more prepared for the main walk or play session. Even so, the first 5 minutes of the main activity should remain at moderate intensity. Avoid throwing a ball or encouraging sprinting immediately after the warm-up. A further 5 minutes of normal-pace leash walking serves as a bridge to higher-energy activity.
For dogs being conditioned for more demanding spring activities such as hiking, this warm-up routine serves as a foundation. Conditioning Your Dog for Spring Hiking: A Physiotherapy Approach outlines how to build on these basics with progressive loading.
Adapting the Routine for Different Dogs
Senior Dogs (Typically 8 Years and Older for Large Breeds, 10 and Older for Small Breeds)
- Extend the passive warming phase to 3 to 4 minutes.
- Reduce the number of range-of-motion repetitions to 2 per side if the dog shows hesitation.
- Keep controlled walking to flat surfaces only, and avoid circles smaller than 3 metres in diameter, as tight turns increase medial joint loading.
- Consider performing the routine twice daily (morning and evening) rather than once, as senior dogs often stiffen again after rest periods.
Dogs with Diagnosed Osteoarthritis
- Follow the veterinarian's or veterinary physiotherapist's specific guidance, as some joints may have movement restrictions that override general warm-up advice.
- Passive warming is particularly beneficial for arthritic joints and can be extended.
- Weight-shifting exercises should use even lighter pressure, and the dog should never be pushed past a comfortable stance.
- If the dog is on non-steroidal anti-inflammatory medication, be aware that pain masking can allow overexertion. The warm-up should be followed by moderate activity only, regardless of how comfortable the dog appears.
Young, Otherwise Healthy Dogs
- The passive warming phase can be shortened or replaced with 2 minutes of slow on-lead walking.
- Range-of-motion exercises and weight shifts remain valuable even for young dogs, as they build body awareness (proprioception) that benefits long-term joint health.
- The controlled walking phase can progress to include gentle figure-of-eight patterns after the first week.
Brachycephalic Breeds
Short-nosed breeds such as Bulldogs, Pugs, and French Bulldogs often carry extra body weight and have conformational predispositions to joint stress. Keep the entire routine at a calm, unhurried pace and monitor breathing throughout. If the dog shows increased respiratory effort (heavy panting, noisy breathing, or flared nostrils), pause and allow recovery before continuing.
What to Watch for During and After the Routine
Normal Responses
- The dog loosens up visibly within the first few minutes of walking, with stride length increasing and gait becoming more fluid.
- Mild initial stiffness that resolves completely by the end of the warm-up.
- The dog engages willingly with cookie stretches and weight shifts.
Concerning Signs
- Persistent lameness: If the dog is still visibly limping after the full warm-up routine, the stiffness may not be simple deconditioning. Lameness that does not resolve with gentle movement warrants veterinary assessment.
- Vocalisation: Whimpering, yelping, or growling during any phase of the routine suggests pain beyond normal stiffness.
- Swelling or heat in a joint: Run your hands over the major joints (shoulders, elbows, wrists, hips, stifles, hocks) after the routine. A joint that feels noticeably warmer than the surrounding tissue or appears swollen compared to the opposite limb needs professional evaluation.
- Worsening stiffness after exercise: If the dog is stiffer 2 to 4 hours after the routine than before it, the session may have been too intense, or there may be an inflammatory process at play.
- Reluctance to bear weight: A dog that holds a limb up, toe-touches, or consistently avoids loading one leg is communicating significant discomfort.
When to Call Your Vet Immediately
The warm-up routine described here is a general wellness tool for managing mild, activity-related stiffness. It is not a treatment for injury or disease. Contact your veterinary practice without delay if you observe any of the following:
- Sudden onset lameness (the dog was moving normally and then suddenly could not weight-bear).
- A joint that is visibly swollen, hot to the touch, or held at an abnormal angle.
- The dog cries out when a specific joint is touched or moved, even gently.
- Stiffness that has been progressively worsening over days or weeks despite gentle activity.
- Any loss of muscle mass (atrophy) visible over one limb compared to the other: this suggests the dog has been offloading that limb for some time.
- Reluctance to eat, lethargy, or fever alongside joint stiffness, which may indicate systemic illness such as immune-mediated polyarthritis or tick-borne disease. For tick-related concerns as spring activity increases, Early Spring Tick Strategies provides a proactive wellness plan.
Building a Long-Term Mobility Routine
Post-winter stiffness is often a wake-up call that highlights the importance of year-round movement. Once the initial stiffness has resolved (typically within 2 to 4 weeks of consistent daily warm-ups and gradually increasing activity), the routine can evolve into a maintenance programme.
Weekly Progression Guidelines
- Weeks 1 to 2: Perform the full warm-up routine daily before every walk. Keep main walks to 70 to 80 percent of the dog's pre-winter distance and duration.
- Weeks 3 to 4: Gradually increase walk distance by approximately 10 percent per week. Introduce gentle inclines if the dog is moving comfortably on flat ground.
- Weeks 5 onward: The warm-up can be abbreviated to Steps 2 and 4 (range-of-motion plus controlled walking) as a maintenance routine before higher-intensity activity. Passive warming and weight shifts can be reserved for mornings when the dog appears particularly stiff.
For dogs moving towards more athletic pursuits, Conditioning for Agility: Core Strength Exercises for Active Dogs outlines progressive strengthening exercises that build naturally on the foundations established here.
Environmental Considerations
As spring progresses, dogs will encounter changing terrain, longer daylight hours, and warming temperatures. Owners commonly report that their dogs want to "do too much too soon" once the weather improves. The warm-up routine acts as a built-in governor, ensuring the dog's body is prepared before enthusiasm takes over.
Wet and muddy spring conditions also introduce their own risks. Dogs exercising on waterlogged ground are more prone to slipping, and persistent dampness on the lower limbs is worth monitoring. Alabama Rot (CRGV) and Muddy Walks covers the hygiene protocols relevant to this season.
Complementary Support
Warm-up routines work best as part of a broader approach to joint health. The following measures are commonly recommended alongside exercise modification:
- Weight management: Excess body weight is the single most modifiable risk factor for joint stress. Even a reduction of 5 to 10 percent of body weight in overweight dogs has been shown to measurably improve mobility.
- Appropriate bedding: Orthopaedic or memory foam beds help reduce joint compression during rest, particularly for dogs that sleep on hard floors.
- Joint supplements: Products containing omega-3 fatty acids (EPA and DHA), glucosamine, and chondroitin are widely used. Evidence for efficacy varies, and veterinary guidance on appropriate products and dosages is recommended over self-selection.
- Professional physiotherapy: For dogs with significant stiffness or diagnosed joint conditions, a qualified canine physiotherapist can design a tailored programme. Hydrotherapy for Post-Operative Dogs explores one branch of professional rehabilitation that may be relevant for dogs with more advanced mobility challenges.
Frequently Asked Questions
How long should the warm-up take?
Plan for 8 to 12 minutes in total. Senior dogs or those with known joint issues may benefit from a slightly longer passive warming phase, extending the total to around 15 minutes. The key is consistency rather than duration.
Can the routine replace veterinary treatment for arthritis?
No. This routine is a supportive wellness measure, not a substitute for veterinary diagnosis and treatment. Dogs with arthritis typically benefit from a combination of veterinary-prescribed pain management, weight control, environmental modification, and appropriate exercise. The warm-up routine fits within the exercise component but does not replace the others.
What if the dog refuses to do the cookie stretches?
Reluctance to follow a treat lure into certain positions usually means that position is uncomfortable. Do not force the movement. Note which direction the dog avoids and mention this to your vet, as it can help localise the source of discomfort. In the meantime, work within the range the dog offers willingly.
Is it safe to warm up a dog with hip dysplasia?
Generally, yes, but with modifications. Dogs with hip dysplasia should avoid tight circles during the walking phase and may need a more gradual progression. The passive warming and controlled weight-shifting steps are typically well tolerated. However, veterinary or physiotherapy guidance specific to the dog's grade of dysplasia is essential before starting.
Frequently Asked Questions
How long should a warm-up routine take for a stiff dog? ↓
Can warm-up exercises replace veterinary treatment for canine arthritis? ↓
What should owners do if a dog refuses to follow the treat lure during range-of-motion exercises? ↓
Is it normal for dogs to be stiff after winter even if they are young and healthy? ↓
When should a dog showing post-winter stiffness be taken to the vet? ↓

Emma Lawson
Practical Pet Care Educator
Practical pet home care specialist — clear, step-by-step guidance grounded in veterinary nursing standards.
Content Disclosure
This article was created using state-of-the-art AI models with human editorial oversight. It is intended for informational and entertainment purposes only and does not constitute veterinary medical advice. Always consult a licensed veterinarian for your pet's specific health needs. Learn more about our process.