A New Zealand specific guide to building a safe, low impact backyard fitness circuit for your dog during long summer evenings. Covers UV and surface safety, Dog Control Act compliance, native wildlife considerations, and a six week plan tailored to common Kiwi breeds.
Key Takeaways
- Cavaletti pole height and spacing should be matched to your dog's withers height and natural stride length, not their breed label.
- Wobble cushions build core strength gradually: begin with two paws on a lightly inflated disc before progressing to all four.
- Cone weaves develop lateral flexibility and proprioception; spacing should allow a comfortable bend rather than a sharp twist.
- Session length for healthy adult dogs is typically 10 to 20 minutes, two or three times weekly, with at least 48 hours between strength sessions.
- UV and surface temperature are real risks even in temperate New Zealand: always run the seven second paw test before starting.
- Conservation rules apply: keep dogs under control near native bird habitat and follow your council's dog control bylaws under the Dog Control Act 1996.
Why Backyard Conditioning Suits New Zealand Summers
New Zealand's long daylight hours from December through February create an ideal window for low impact canine fitness, particularly in the cooler hours after 6 pm when the worst of the UV has eased. A structured backyard circuit gives dogs a safe outlet for energy, builds core stability for older or under exercised dogs, and reduces the injury risk linked to weekend warrior bursts at the beach or on bush tracks. Veterinary physiotherapy guidance, including resources promoted by members of the New Zealand Veterinary Association (NZVA), consistently supports controlled, repetitive movement patterns for healthy joints, balanced musculature, and proprioceptive awareness.
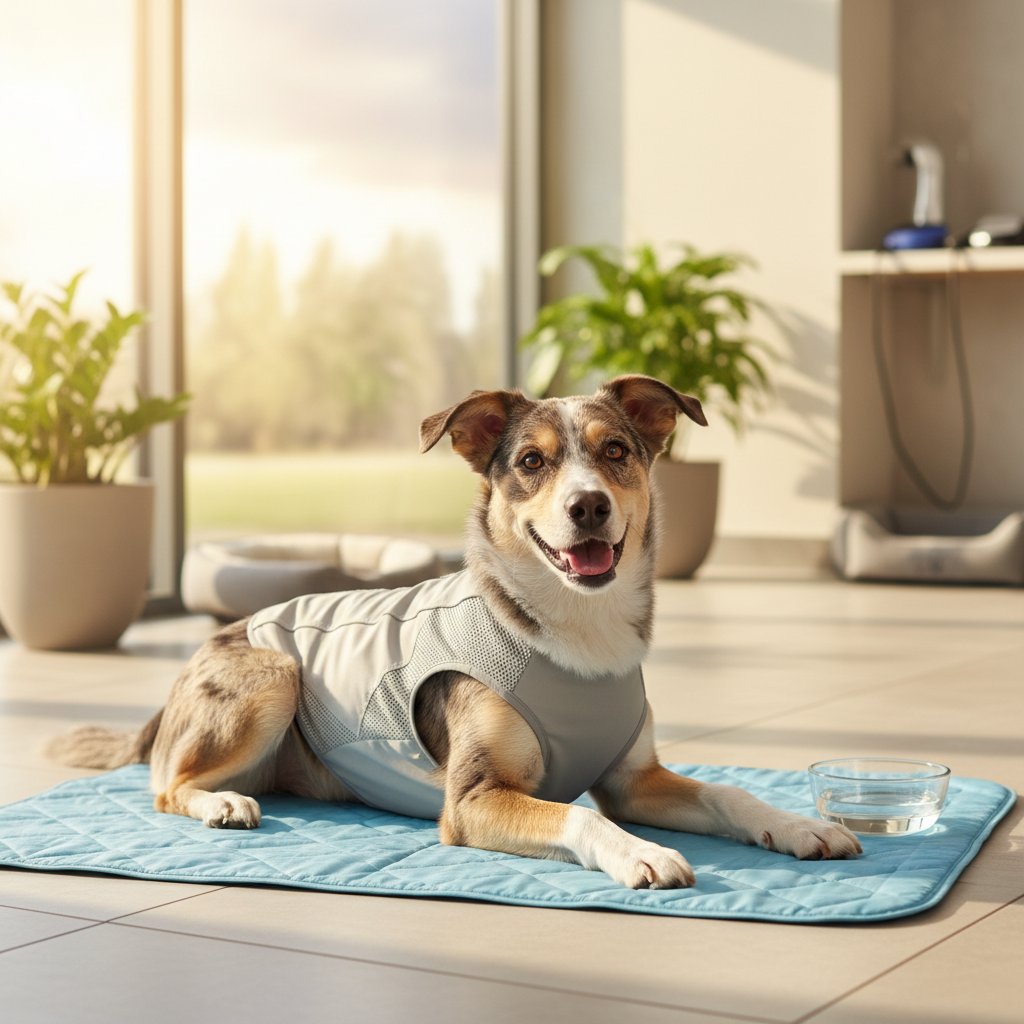
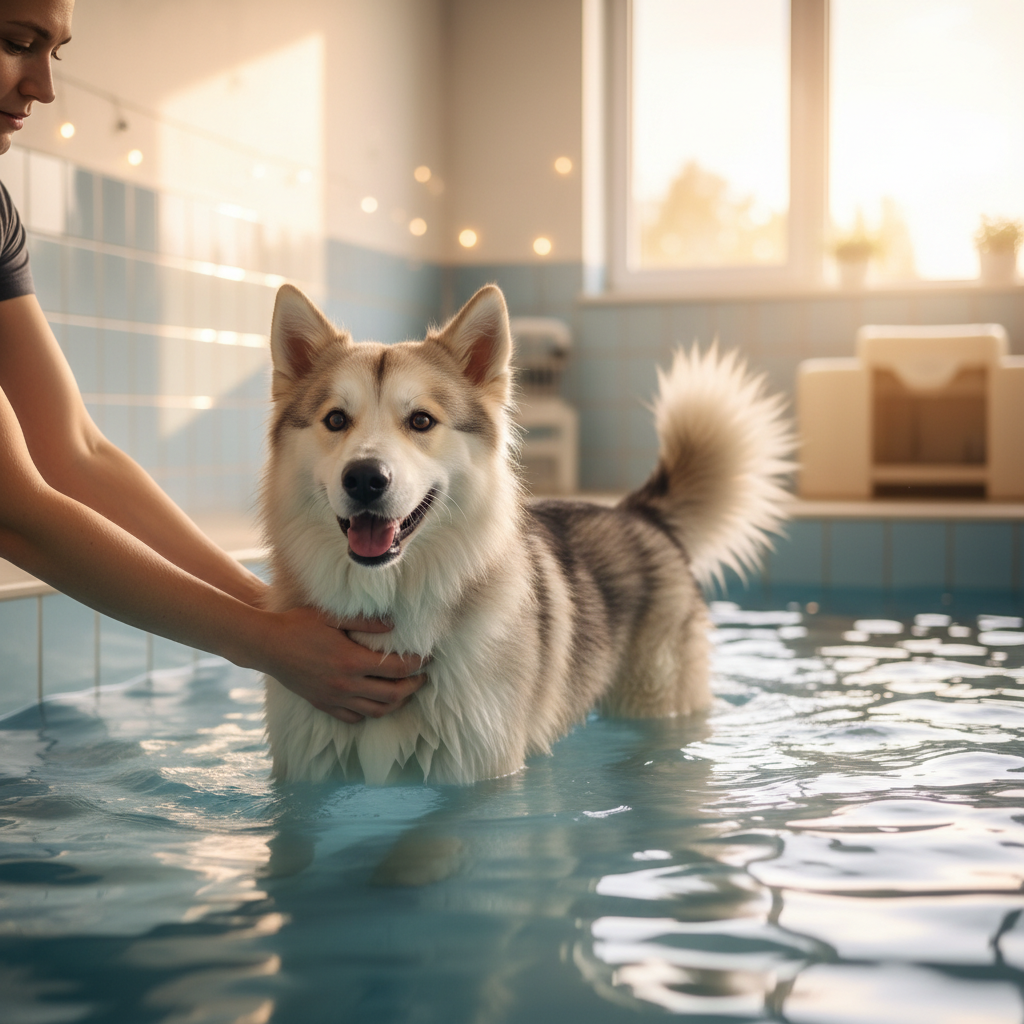
This guide explains how to build a safe circuit at home using cavaletti poles, a wobble cushion, and cones. It suits healthy adult dogs cleared for exercise by a vet. Puppies still growing, senior dogs with arthritis, and any dog recovering from injury should follow a programme designed by a qualified canine rehabilitation professional. For arthritic or overweight dogs, water based options may be more appropriate; see the article on Canine Hydrotherapy in NZ: Arthritic and Overweight Dogs.
New Zealand Specific Considerations Before You Start
UV, Heat, and Surface Safety
Although New Zealand's maritime climate feels mild compared with Australia or the Gulf, the ozone profile above the Tasman means UV indices regularly reach 11 or above between November and February (often described as extreme by NIWA and SunSmart NZ). Surface temperatures on concrete patios, dark paving stones, and artificial turf can climb well past safe paw thresholds even on overcast days. Before any session, place the back of your hand on the planned surface for seven full seconds; if it is uncomfortable for you, it is unsafe for paws. Aim to train after 6 pm in Auckland and Northland, and after 5 pm in Otago and Southland, or once ambient temperatures sit below roughly 22 to 24 °C.
Microchipping, Registration, and Council Bylaws
Under the Dog Control Act 1996, dogs over three months of age must be microchipped (with limited exceptions for working farm dogs) and registered with their territorial local authority. While these rules primarily concern public spaces, vets and emergency services will often ask for registration details if your dog needs urgent care after a training mishap at home. Keep your dog's registration tag accessible and your contact details on the New Zealand Companion Animal Register (NZCAR) up to date before starting any new exercise programme.
Protecting Native Wildlife
If your backyard backs onto bush, wetlands, or a Department of Conservation (DOC) reserve, plan your circuit so your dog stays focused inwards rather than reacting to native birds, lizards, or weka. Dogs are a leading cause of kiwi mortality in regions such as Northland, Coromandel, and Stewart Island (Rakiura), so any escape during an excited session can have serious consequences. A securely fenced training area is essential, and dogs that live or holiday in kiwi zones should also undergo accredited kiwi aversion training before being off lead in those areas.
Preparation: What You Need
Equipment Checklist
- 4 to 6 cavaletti poles (lightweight PVC piping from a local hardware store works well) with adjustable height supports. Expect to spend around $40 to $80 NZD for a DIY set, or roughly $120 to $250 NZD for purpose built poles.
- 1 wobble cushion or balance disc rated for your dog's weight in kg, plus a non slip mat underneath.
- 6 to 8 cones tall enough that your dog moves around them rather than over them.
- A non slip surface: short, dry grass, rubber matting, or quality artificial turf. Avoid wet decking, slippery tiles, or loose scoria gravel.
- High value treats cut into pea sized pieces, with fresh water in a shaded spot.
- A well fitted flat collar or Y shaped harness and a 1.5 to 2 metre lead for guidance.
Environmental Setup
Clear the circuit area of slippery debris, fallen pohutukawa flowers, sharp twigs, and irrigation heads. Keep stations at least two metres apart so your dog can transition without rushing. In the upper North Island, watch for grass seeds and barley grass awns that lodge between toes, and in coastal South Island areas (Fiordland, the West Coast, and parts of Marlborough) be aware of heavy sandfly activity at dusk: a dog safe insect deterrent recommended by your vet can help keep evening sessions comfortable.
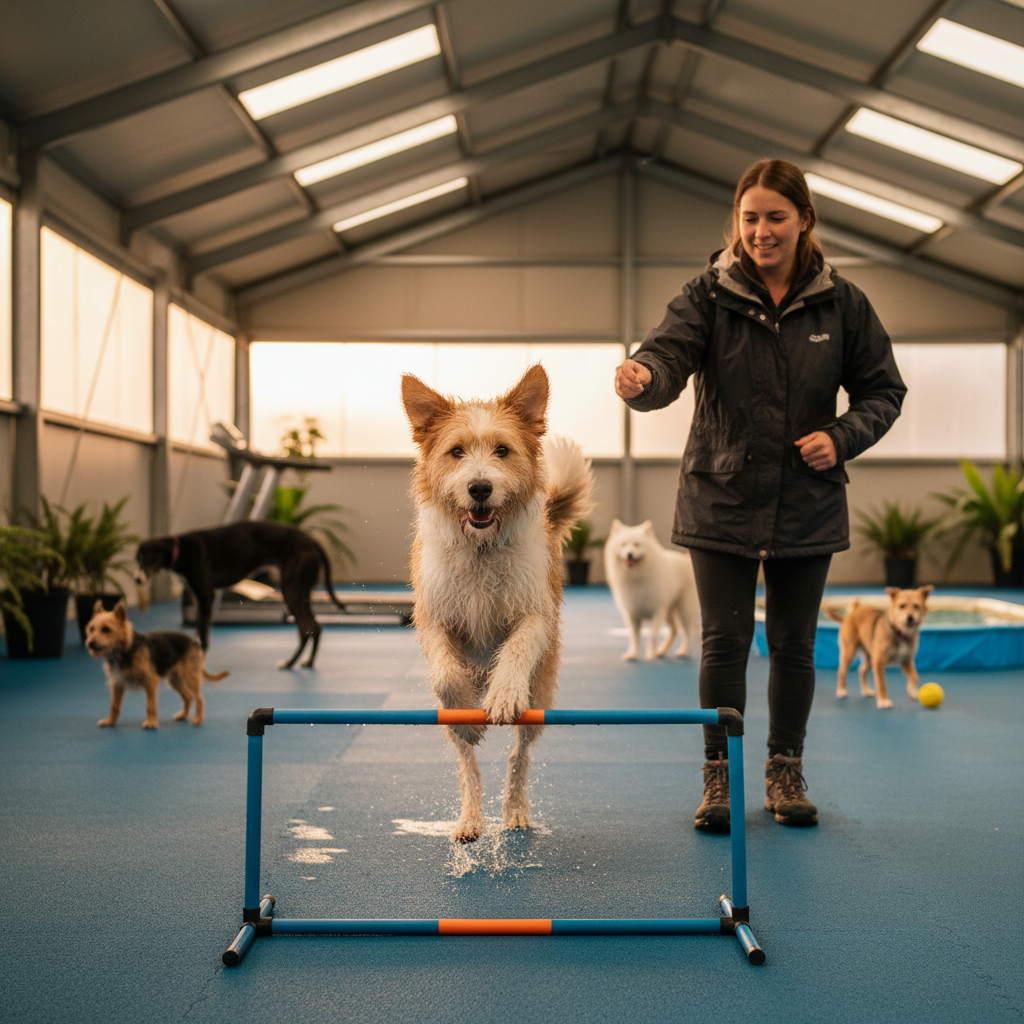
Cavaletti Spacing by Breed Size
Cavaletti work, meaning walking or trotting over a series of low poles, is one of the most evidence supported tools in canine conditioning. It encourages active joint flexion, even weight distribution, and engagement of the deep core musculature. The single biggest mistake owners make is setting poles too close together, which forces the dog to hop rather than stride.
General Rules
- Pole height for foundation work: roughly the height of your dog's carpus (wrist) for small to medium dogs, and the hock for larger dogs. Start lower if your dog is unsure.
- Pole spacing: approximately your dog's height at the withers for a walking pace, and slightly longer for a trot.
Suggested Starting Points for Common Kiwi Breeds
- Toy and small breeds (Bichon Frise, Cavalier King Charles, Miniature Schnauzer): poles 5 to 10 cm high, spaced about 20 to 30 cm apart.
- Medium breeds (Border Collie, Staffy, Cocker Spaniel, New Zealand Heading Dog): poles 10 to 15 cm high, spaced about 40 to 50 cm apart.
- Large breeds (Labrador, Golden Retriever, Huntaway, German Shepherd): poles 15 to 20 cm high, spaced about 55 to 70 cm apart.
- Giant breeds (Great Dane, Bernese Mountain Dog, Saint Bernard): poles 20 to 25 cm high, spaced about 75 to 90 cm apart.
Adjust based on your dog's natural stride. If poles are clipped, lengthen spacing slightly; if the dog hops over multiple poles, shorten it. Working breeds that are common across rural New Zealand, such as Huntaways and Heading Dogs, often appear keen to race through any task. Slow them down deliberately so the focus stays on form rather than speed.
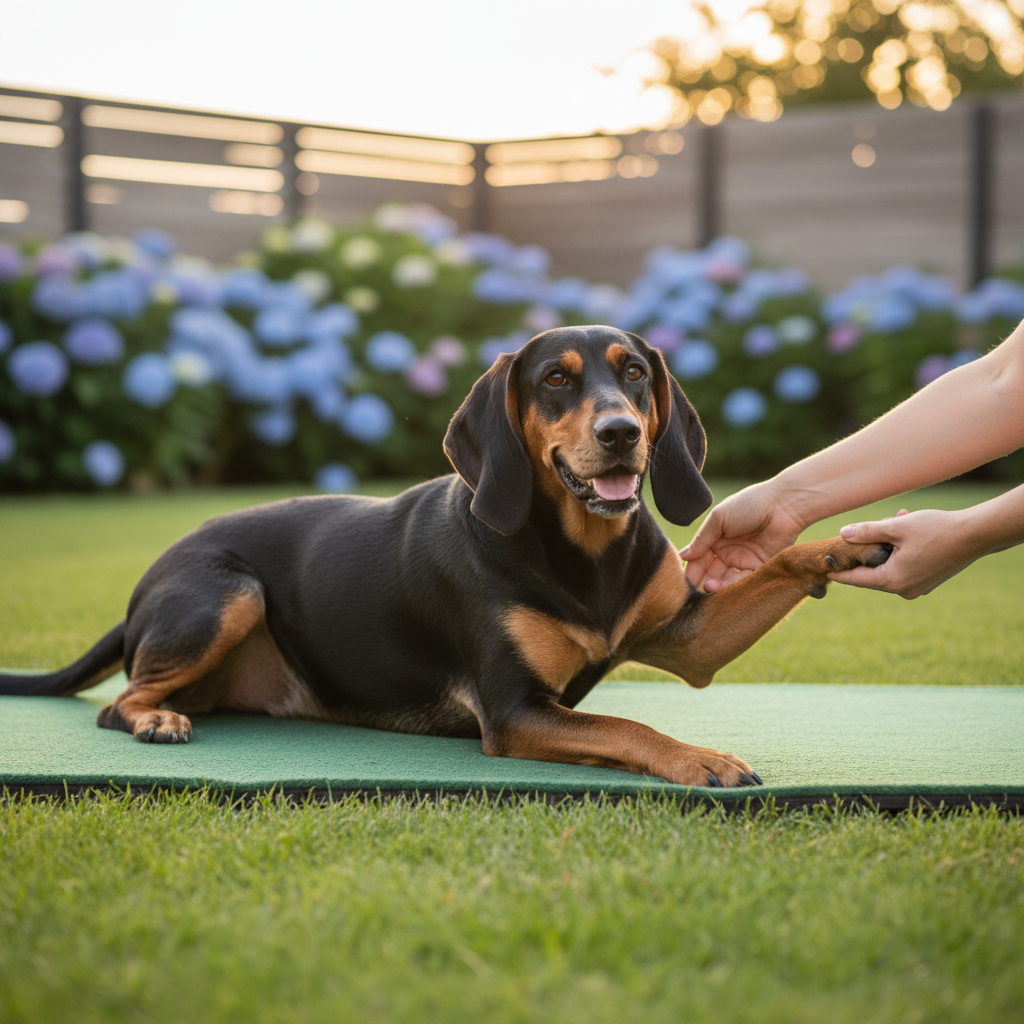
Wobble Cushion Progressions
Balance discs and wobble cushions challenge the small stabilising muscles that hold joints aligned. Professional consensus in canine rehabilitation suggests these tools are most effective when introduced in stages, each held until the dog is calm and confident.
Stage 1: Familiarisation (Week 1)
Place the cushion only lightly inflated on a non slip mat. Lure your dog to step two front paws on, hold for three to five seconds, then step off. Repeat 5 to 8 times per session.
Stage 2: Rear Paw Awareness (Week 2)
Reverse the position: encourage two back paws onto the cushion. This is harder and often produces a puzzled head tilt. Reward steady weight distribution rather than duration.
Stage 3: All Four Paws (Weeks 3 to 4)
Use a slightly larger disc or two cushions side by side. Lure the dog into a square stand with all four paws on, aiming for 10 to 15 seconds of calm balance.
Stage 4: Dynamic Work (Weeks 5 to 6)
Introduce gentle weight shifts: ask for a nose touch to the left, then the right, encouraging the dog to engage the core to stay balanced. Never push, pull, or rock the cushion forcefully.
Cone Weave Drills
Cone weaves develop spinal flexibility, hindlimb awareness, and controlled turning. They differ from competition weave poles in that the focus is on slow, deliberate movement rather than speed.
Setting Up
- Arrange 6 cones in a straight line.
- Spacing: about 1.5 times your dog's body length apart for foundation work. Closer spacing increases lateral bend; wider spacing reduces it.
The Drill
Lead your dog at a walk in a serpentine pattern around the cones, focusing on smooth, continuous motion and equal bending in both directions. Most dogs are noticeably stiffer on one side; that side needs extra repetitions, not fewer. Begin with three passes in each direction and add one pass per week, up to a maximum of six passes per direction.
Session Length and Recovery Guidelines
Conditioning is not the same as cardio. The aim is quality of movement, not exhaustion. Veterinary physiotherapy standards generally recommend:
- Total session length: 10 to 20 minutes for healthy adult dogs, including warm up and cool down.
- Frequency: two to three sessions per week, with at least 48 hours between strength focused sessions.
- Warm up: 5 minutes of loose lead walking, plus a few gentle play bows or sit to stand transitions.
- Cool down: 5 minutes of slow walking and, if your dog tolerates it, gentle passive range of motion on each limb.
Recovery is when adaptation happens. Owners often underestimate how tiring proprioceptive work is; a dog may seem energetic during the session and then sleep deeply for hours afterwards. Soreness lasting more than 24 hours, stiffness on rising, or any change in gait warrants a rest day, and a vet check if it persists.
Six Week Plan to Build Core Strength
Week 1: Foundation
- Session A: Cavaletti walk over 4 poles, 3 passes. Wobble cushion Stage 1.
- Session B: Cone weave at walk, 3 passes each direction.
Week 2: Adding Repetitions
- Session A: Cavaletti 5 poles, 4 passes. Wobble cushion Stage 2.
- Session B: Cone weave 4 passes each direction. Sit to stand x 5.
Week 3: Combining Stations
- Session A: Cavaletti 6 poles, 4 passes. Wobble cushion Stage 3.
- Session B: Cone weave 5 passes each direction. Add a figure of eight around two widely spaced cones.
Week 4: Building Endurance
- Session A: Cavaletti at slow trot if the dog is balanced, 5 passes. Wobble cushion Stage 3 with nose touches.
- Session B: Cone weave 6 passes. Sit to stand x 8 with controlled tempo.
Week 5: Dynamic Balance
- Session A: Cavaletti combined with a wobble cushion stand at the end of the lane.
- Session B: Cone weave plus down to stand x 5.
Week 6: Integration and Assessment
- Session A: Full circuit, two rounds with rest between.
- Session B: Reassess pole spacing, balance duration, and weave smoothness. Note any side preference and adjust the next cycle accordingly.
At the end of six weeks, take a full rest week or switch to gentle walking and enrichment before starting another cycle with progressed parameters.
What to Watch For During and After Sessions
During the Session
- Excessive panting that does not settle within a minute of pausing.
- Refusal or freezing at a station the dog previously enjoyed.
- Repeated pole clipping, which suggests fatigue or spacing issues.
- Slipping on the surface; stop immediately and adjust.
After the Session
- Mild tiredness and a long nap are expected.
- Stiffness on rising the next morning suggests you progressed too quickly.
- Drinking heavily and then resting comfortably is normal in warm weather.
For double coated dogs common in New Zealand (Huntaways, Samoyeds, Australian Shepherds, and Siberian Huskies), remember that conditioning generates body heat. Never shave a double coated dog to cope with summer training; read more in the article on Why You Should Never Shave a Double-Coated Dog in Summer.
When to Call Your Vet Immediately
For after hours emergencies, contact [LOCAL_VET_EMERGENCY_en-nz] or your nearest 24 hour clinic without delay if you notice any of the following:
- Sudden lameness or non weight bearing on a limb during or after a session.
- Collapse, disorientation, or vomiting, which may indicate heat stress.
- Rapid, distressed breathing that does not normalise with rest, shade, and water.
- Yelping on movement, a hunched posture, or reluctance to lie down comfortably.
- Swelling around joints in the 24 to 48 hours after exercise.
If your dog has a known orthopaedic condition (hip dysplasia, elbow dysplasia, cruciate disease, or spinal issues), do not begin a programme without input from your vet or a certified canine rehabilitation therapist. Senior dogs may also benefit from a tailored approach; sleep and routine changes in older dogs are covered in the guide on Summer Daylight, Senior Pets' Sleep and Sundowning.
Final Thoughts
A well designed backyard conditioning circuit is one of the most rewarding ways to spend long Kiwi summer evenings with a dog. The goal is not to create a canine athlete in six weeks but to build steady, lifelong physical literacy: balanced movement, calm focus, and resilient joints suited to the tracks, beaches, and farm trails that make New Zealand such a great place to own a dog. Progress slowly, prioritise good form over repetitions, and treat every session as a chance to learn how your dog moves. With consistency, most owners notice a more confident gait, easier transitions on stairs, and a happier, more settled dog at home.
Frequently Asked Questions
When is the safest time to run a backyard conditioning session in a New Zealand summer? ↓
Do I need any permits or council approvals for a conditioning circuit at home? ↓
Are working breeds like Huntaways and Heading Dogs suited to this kind of conditioning? ↓
How much should I budget in NZD for the equipment? ↓
My property backs onto bush. What extra precautions should I take? ↓

Emma Lawson
Practical Pet Care Educator
Practical pet home care specialist — clear, step-by-step guidance grounded in veterinary nursing standards.
Content Disclosure
This article was created using state-of-the-art AI models with human editorial oversight. It is intended for informational and entertainment purposes only and does not constitute veterinary medical advice. Always consult a licensed veterinarian for your pet's specific health needs. Learn more about our process.